
It is all more or less self-explained. Checking if the end of the line is reached, change character and start from scratch. $d016, bit 0,1,2 are rolling everything. from 0 to 7. If 8 is reached, i do reset it to 0, move the character 1 field forward, delete the old one and repeat everything... It is an endless loop!

Short and easy to understand. Nevertheless, also a commented version is included.
Written directly in Machine Language Monitor of C128.


Find here few listings playing with the INX, INY, INC, ADC etc. commands. This here isn't going to win a special reward, but it'll help you to understand assembly basics better.
Conclusion: everything we learn and understand about it, is useful.


In the most books i read, some are telling you need just 4 { BEQ, BNE, BCC, BCS } branch commands { out of 8 }. Four remaining are BMI, BPL, BVS, BVC and unnecessary?
Is it so? Can the job be done to 100% only with 50% power???
It's going to be an interesting branching adventure!
Btw. the source code is explained as good as possible.
It's not much lines, but a lot of things can be done with it with just a little modification/adaptation. I used BEQ and BCC branching only.
BEQ to set/increment the high byte, and BCC to fill the line with 40 characters and to count the screen lines { not to exceed 25 lines and crash the system }.

That's why it is important to know how and when branching commands are used.
In different books it is stated that only 4 commands are needed { BNE, BEQ, BCS, BCC } to be able to write assembly programms.
With given examples, you get explained how branching is working and why it is branched in first place. I am also explaining the remaining branching commands the best i can because some aren't so clear and not many examples are existing, like those branching commands aren't really necessary.
But still, you'll see that that isn't quite so...
As always, practice, try, made errors, learn and understand.


Check the screenshots for further help and assistant.
I would say not so difficult once when you do this couple of times.


Let's go, not giving up for sure!
As first, the first listing was okay and working, on C64, but not on C128.
Why is that?
I found out, that C128 is handling this completelly diferrently and actually needs just a fraction of the C64 code to give some nice random results.
Which were used wisely as you can see in attached listing and disk.
And we learned something again. Even if Sound & Graphic Departement are supposed to be the same on C64 and C128, C128 in C64 mode, isn't the same anymore in terms of VIC Chip.

Still things open, like how to choose only 10 numbers. When i tried that, it didn't actually worked out.
Only #$07, #$0f was doing fine. But nevermind, with cmp, beq you can address just the numbers you need to branch to whereever you want.
You can have uneven numbers and even numbers { you never know what you'll need someday }

Using this routine, you can actually convert a hexadecimal number from any location to decimal.
Maybe you can need it for something.


But 40 years earlier that was a big deal.
C128 has really nice Basic commands to deal with high resolution graphic, but it is slow.
Unfortunatelly, informations about high resolution graphic are as good as not available for C128 if it has to be done in assembler. Even all fancy Super Graphics on C128 Books are working with Basic and if you can find somehthing in assembler, it's mostly VDC oriented and it is not very informational.
I can't tell why, but could it be C64 is to blame?
That being said, it took me a while to even find out how to change and then also use a drawing color.
Anyway, compared to Basic, this is fast, but it need more researches and persistance to achieve even small results because there is as good so no really usable documentation available despite all the existing books for C128 graphics!!!
This is not about drawing circles etc., it's more pixel art.
Conclusion: the more you know, the more tasty it gets, hahaha...
That's why i am including what i could find out. It will sure help to get on board faster and have fun instead of frustration. And it is fun when you see it in action.


Well, this one really took a small eternity if such thing is even existing. Multi-Color on C128 is in Low Resolution Graphic mode 3 and 4 is a huge pain in the butt. You have to fight yourself through a jungle of mysteries and just maybe you will see some light with huge portion of luck.
I did't give up and that's why it took me so long to finally present some results.
On this fundation, more can be made, of course, and all in assembly which is like a different world compared to Basic drawing.
Not doing the full screen for now, but with material you have here, you can do that with little code modification.
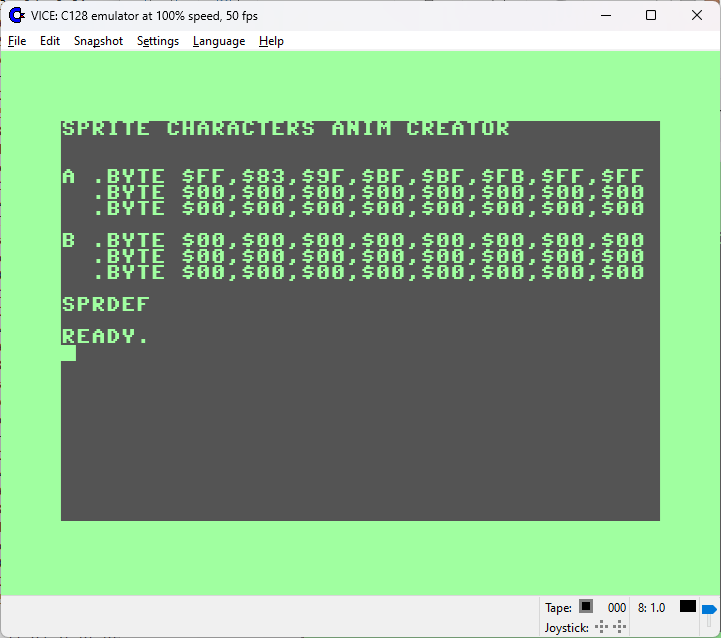
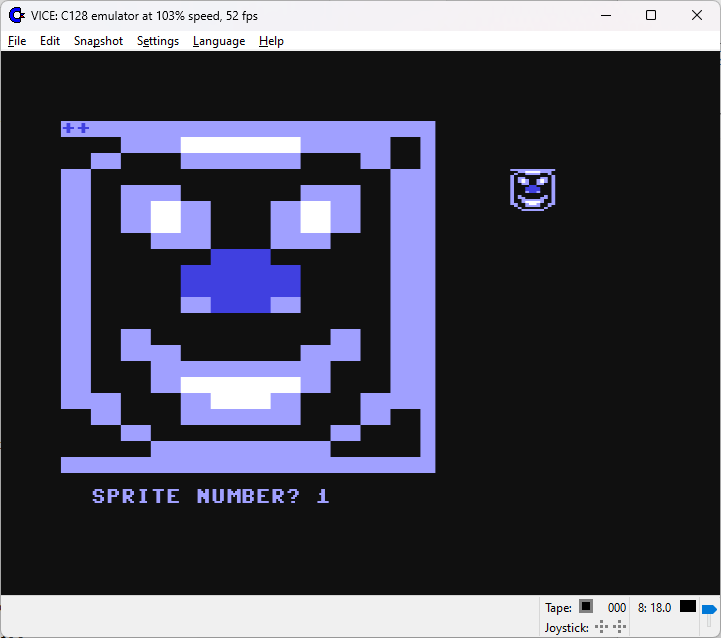
i also included a little Basic program where you can with help of SPRDEF create nice multi-color tiles for C128 low resolution multi-color modes 3 and 4 {graphic/text, split screen}
Also included few tiles as .bytes data, the ML Monitor source code to show tiles 2x2 on Graphic screens modes 3 and 4. And then also Edass 128 source code.
This means
you need to run Assember Editor Edass 128 first to load that and work with.
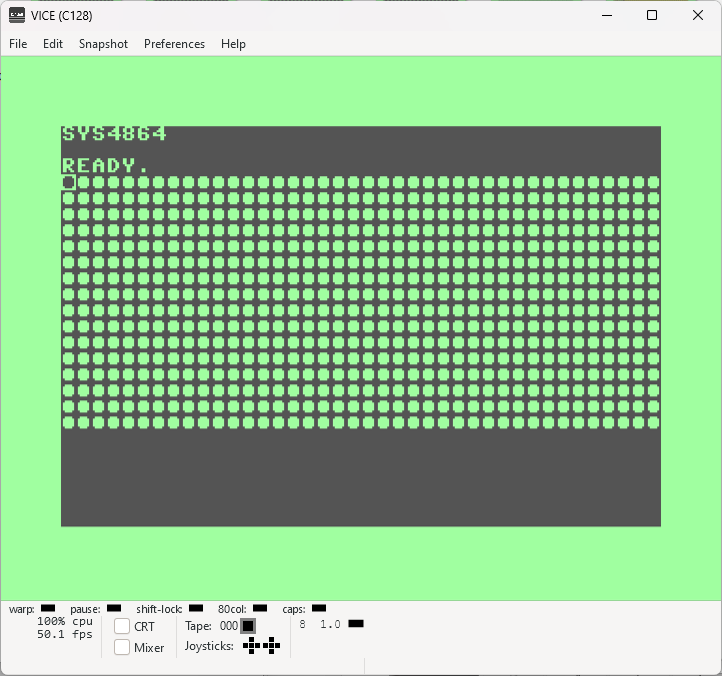
ML Monitor file .bl can be loaded with "bload"... Default is SYS 4864

In addion to above examples of Multi Color graphic here is an example of how to make a full screen and avoid the limitations of branch commands (127 bytes). Not taking much, few JMP's and that's it.
It's not really a full screen, as last line is missing, but didn't wanted to add that one to keep the harmony of full elements {in pairs}.
On .d64 disk, GfxFullScrn.d64 is Edass 128 source file { which is also listed in .txt file }
Meaning, you need Edass 128 for it. Can be downloaded here
SFK files were updated to be fully compatible when GRAPHIC x modes of C128 are used.
Note: Tile Editor was updated to version 1.0.1 {check above this to download it}


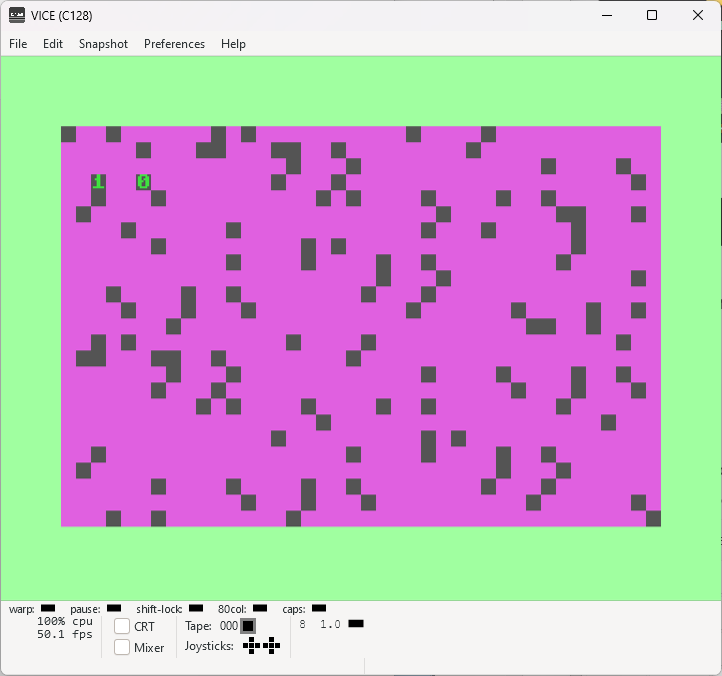
If you followed the last few entries then there is not much to say about this here.
It is showing example tiles which you can switch by using keys 1 - 8, D for default and ENTER to quit.
Written in Edass 128. Included Edass 128 Source Code and C128 ML Source.
Check .txt file for the rest and the .d64 disk of course.
I used TileEditor 1.0.6A to create 2x2 tiles. TileEditor Guide.
TileEditor is showing just 12 lines of the screen.
This Demo is FullScreen, all 25 lines Graphic Mode 3, MultiColor...


Changing colors using ColorRam from $1C00 and left/right side of the byte to have an individual color where you need it in multicolor low resolution graphic on C128!
Guess that will be then about this subject { i actaully added some free tiles, see below, 17.03.2024}
Try to create something nice!

Also some correction were added to the TileEditor110A, see links above in previous entry.
I am using just 4 colors, however on TileEditor110A disk, included is a Source Code for Edass 128 where you can use byte data and have up to 15 individual colors for the tiles.
Included is a text doc and .pdf file where you can see all tiles.
Note also the colors used to have tiles correctly rendered.


That's why i decided to make this little TileEditor 2.0.0 to achieve exactly that by using the screen editor. First version will be only single color, later multicolor, but if you followed the previous informations in regard of colors in C128 Graphic Modes, then you know you can have also in standard modes more colors than one, limited, but still.
I am sure some nice tiles can be created with this once it's ready...
Well, willl take a while... So stick around!
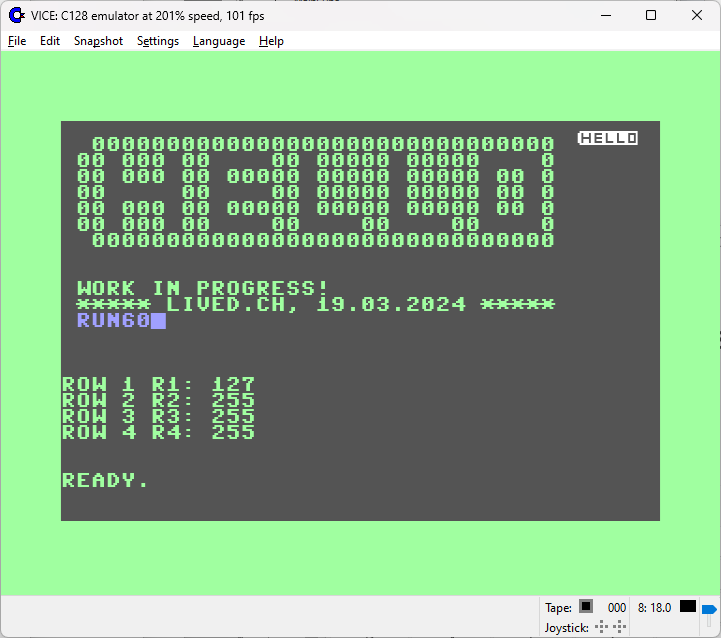
Update: 19.03.2024, 16:38 - This shit is actually working as you can see.
You still can't do much with it {no data export}, but i am already happy with this achievement.
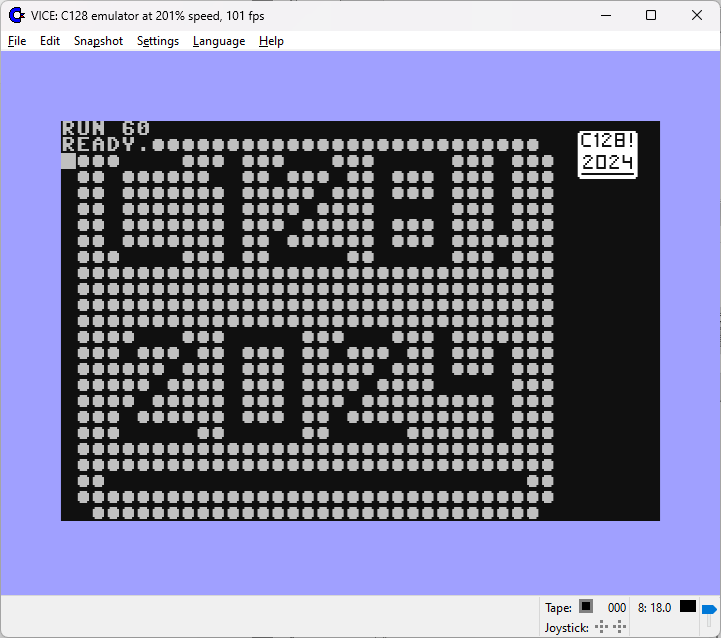
Update: 20.03.2024, 12:26 - This is slowly getting to be fun.
"BiGC128" is showing the latest progress. You can use whatever character you prefer to draw tiles.
Also, you have all the great functions of the screen editor at your disposal.
Update: 28.03.2024 - Switched from C128 Basic to assembly with Edass 128.
It was a challenge, but i created a working version. Much more fun then with Basic {no, it's heavier!}
For more info see the entry below and Basic Version source can be seen here. .d64 download here.
With this i just wanted to have an idea of how it could be done....
This is now called TED 2.0, see below!


This is now made completelly in assembler!
{using Edass 128 on C128 Emulation, no Cross-Assembler}.
Still not finished and also not totally bug-free, but stable.
It is interrupt based, meaning the actual editor is still C128 full screen editor with all the functions, which is actually very helpful in creating tiles.
You can still use basically every key to draw {except the function keys, not F-Keys, but those keys programmed to control curtain things {updated, 03.04.2024, now you can draw even with those!}
I even managed to make it smaller and probably it'll fit in $1300 - $19ff {from $1a00 Edass 128 is having its own code}, but can't tell that for sure.
I am working now at $2000 starting address, which is graphic area and can't test the tiles without deleting the whole program.
But, giving up is not an option. Stay tuned!
Update 29.03.2024 - Working stable, changed few things, updated here and there.
Still not finished, but i am happy to have managed this so far at all. Haha...
Update 31.03.2024 - Test version 1 ready for download
Update 03.04.2024 - Added Command- {to change presets etc.} and Edit-Mode {to draw a tile}
Which makes it possible to draw without accidently pressing on keys with curtain function to unwantendly modify presets all your settings. Left upper corner is indicating 'C'ommand or 'E'dit Mode.
You can switch between them using the ALT Key {that's F11 on my PC Keyboard
{in Vice 3.7, Positional, American US under settings}}
.bmp)