| RETRO ZONE POWERED BY MZRETRO © 2025 All rights reserved! |
| ATARI-800XL/BASIC | |||
| ATARI-JOYSTICK-TEST | CUSTOM-CHARACTERSET | COLOR-SETCOLOR-GFX | DISPLAY-LIST |
| DISPLAY-LIST-ADDITION | |||
| MANDATORY SETUP! | Download {.txt File} | ||
![]() |
![]() |
![]() |
|
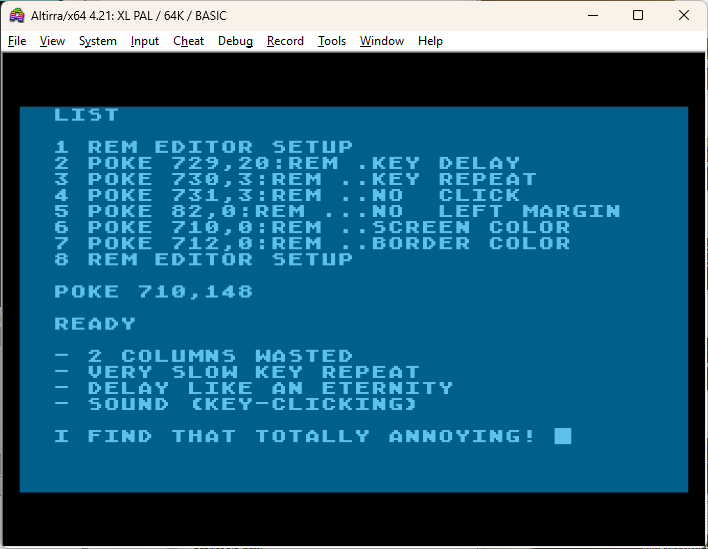
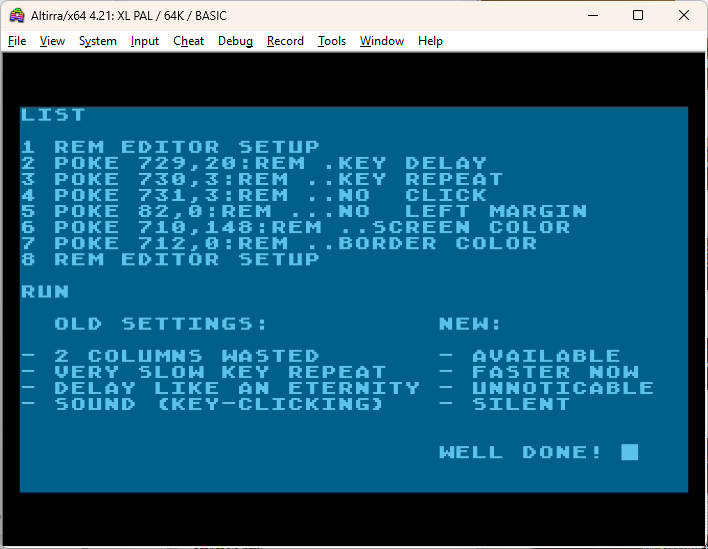
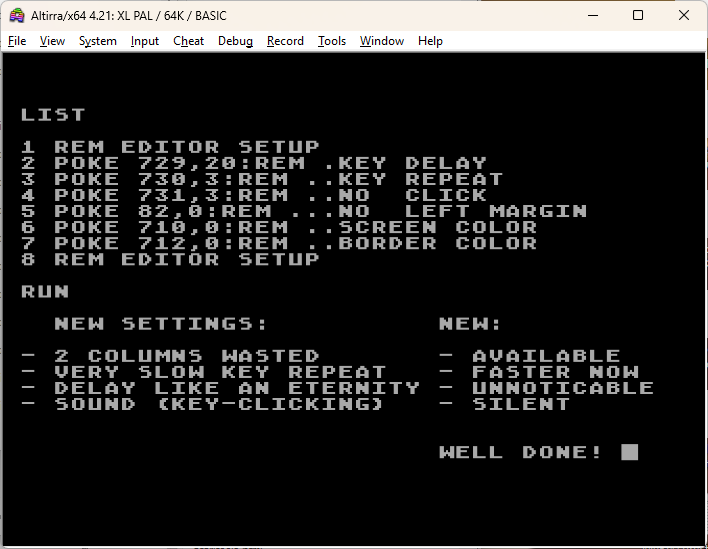
| If you are a new ATARI addicted guy like I am, chances are big that this little code will help you a lot! Especially if you are planning to start programming and not just gaming. Why is it mandatory? To be honest, the real question is: Why it wasn't or isn't default setup! ONE 'little' NOTE: I was very much bothered by the two unused columns on the left side of the screen. As a Commodore C128 user I was used to Full-Screen Editor and this here was really annoying to see unused and wasting space! I thought at first that is how Atari made it, nothing can be done. However, after a while I found out how this actually can be changed. Fortunately, not only this but many other annoying things too. In case you wonder why those first two columns were made unused, the answer will make you smile, probably... So back in the days and with that i mean a very specific number 1979 when the Atari-PC-journey started, some televisions {or too many!?} just would NOT show the first 2 columns and, I very strongly assume, how Atari-Engineers made a clever decision to slide the cursor to the column 3 and the problems is/was resolved. Nobody can complain how the cursor is missing incl. two columns! That preset obviously survived until the end of Atari days. They obviously never bothered to change and adapt it to a newer TV generations {probably to stay compatible with the first Atari-Computers {Atari400/800}}? Luckily it can be undone, not permanently, but just a few lines will do the magic. |
|||
| ATARI-JOYSTICK-TEST | Download {.txt file} | ||
![]() |
|||
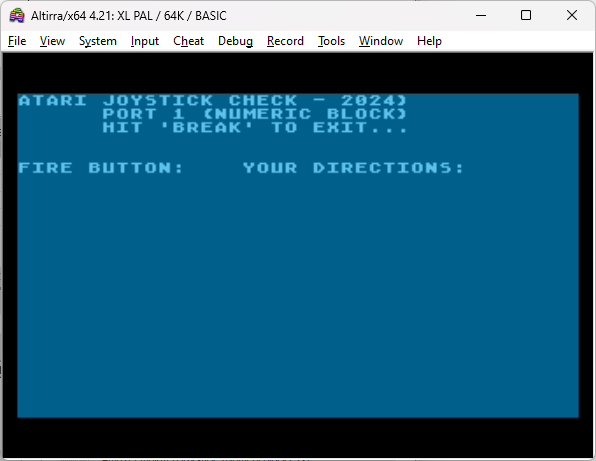
| Joystick test and how to use Joystick and the Fire-Button in Turbo-Basic-XL. Of course, this info can be also used to do the same in assembly language or other Atari Basic lang. It took me a while to understand that Atari is using two different memory addresses to read the Joystick movements and the almighty Fire-Button. I am not used to that as a Commodore C128 user, and that's why i was sweating and thinking something is defect and not working for that reason. All good now as you can see. --- |
|||
| CUSTOM-CHARACTERSET | Download {.txt File} | ||
![]() |
|||
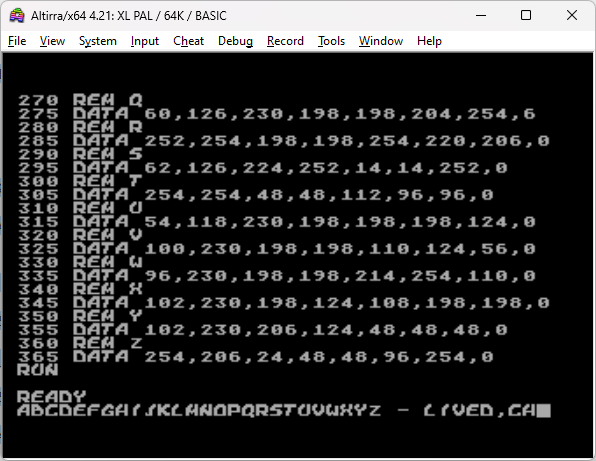
| To create a new character set you'll have no hard time! It isn't so heavy. All you need to know is where to put it and how to access it. It's all shown in this example. Just the alphabet was modified, but feel free to do the rest. Actually, you could modify the rest of be bricks and other different gfx elements and create a nice game with very little efforts. NOTE: To create new characters, I used C128 and SPRDEF { SPRite DEFinition Tool }. Then i used a small routine, which I wrote, to export all as DATA statement and copy/pasted these information to Turbo Basic XL as DATA lines. As said, very easy way to create new character sets or even graphics elements for different games. You can also just copy/paste the source code listing, run it and there you go. |
|||
| COLOR-SETCOLOR-GFX | Download {.txt File} | ||
![]() |
![]() |
![]() |
|
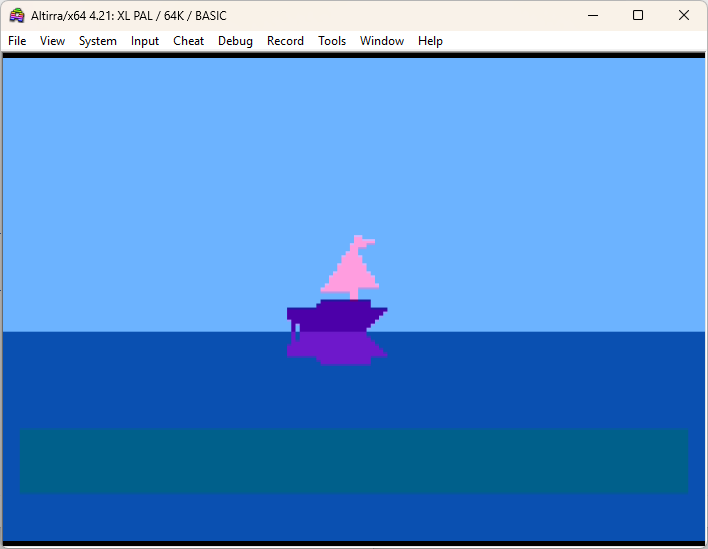
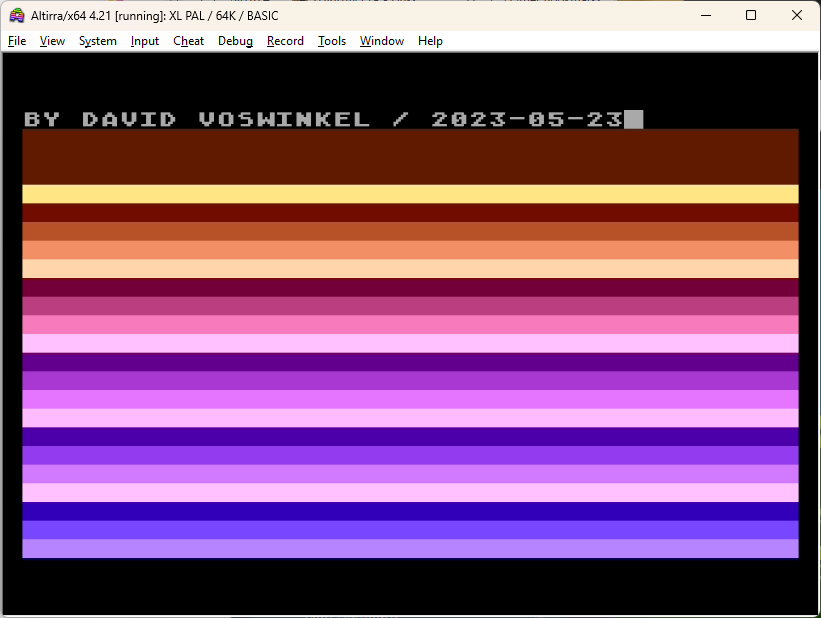
| I was wondering where to put this file so people can stumble over it and aknowledge the importance of this small document. Well, i put it here as you can see, haha... I took me a while, but in December 2024 i was still just a one month ATARI user and thirsty to know what is going on in the world of ATARI. That curiosity was responsible to have this text document created in first place. --- I can only hope it will be useful to you in what way ever! In any case, to understand COLOR & SETCOLOR + POKE, this is what you need! |
|||
| DISPLAY-LIST | Download {.txt File} | ||
![]() |
![]() |
![]() |
|
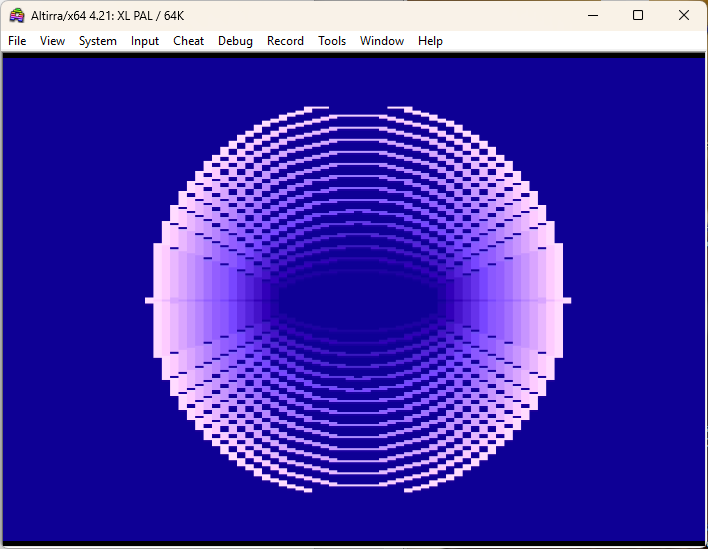
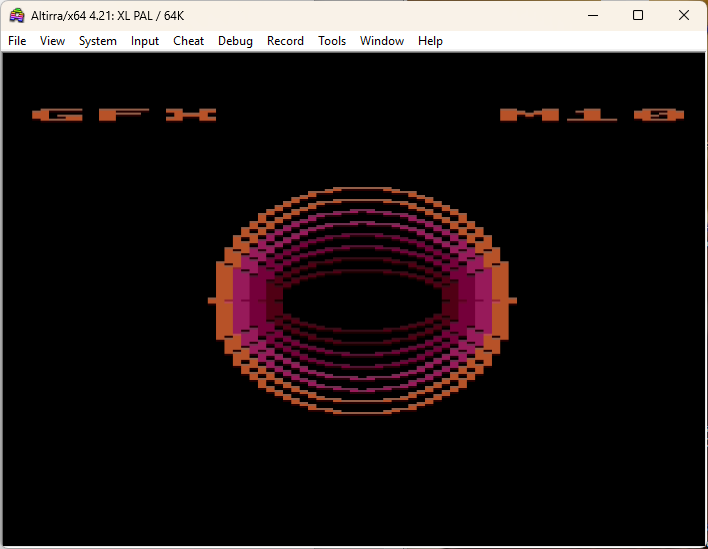
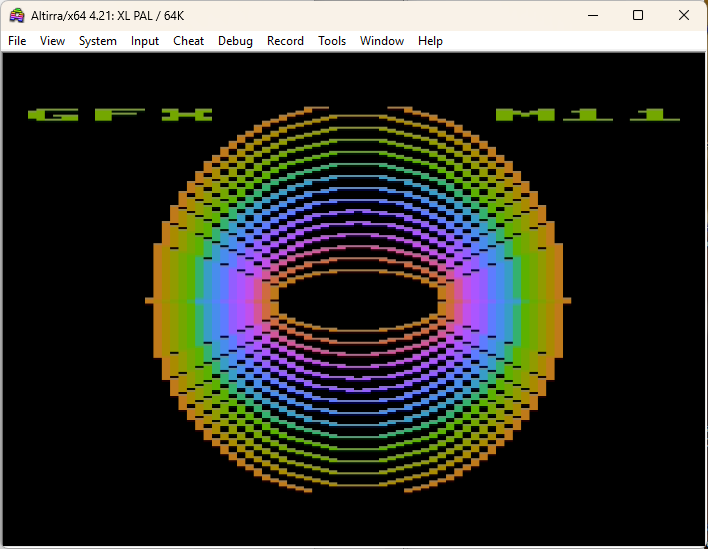
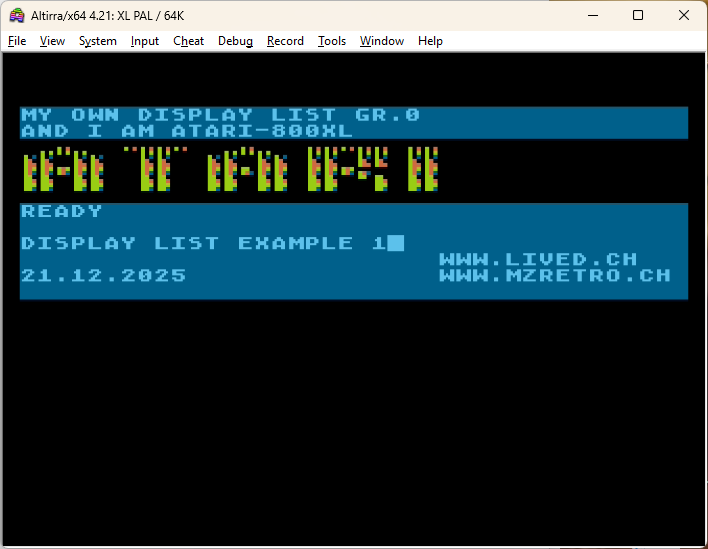
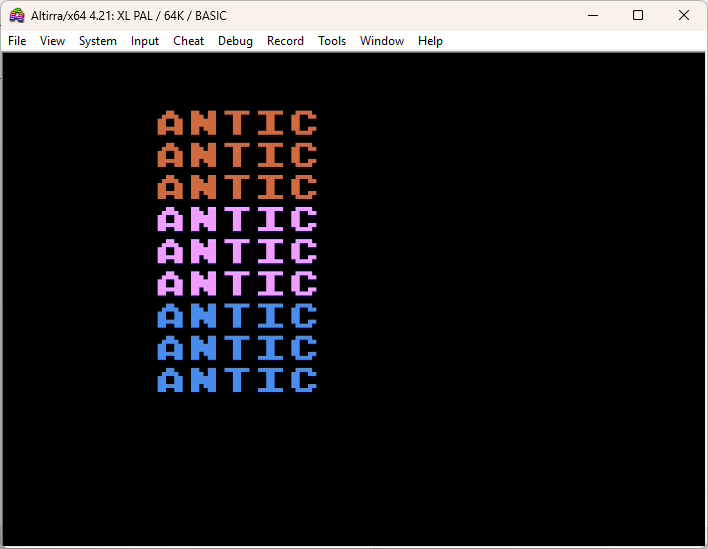
| Last couple of days i went swimming into ATARI DISPLAYLIST waters and the water was and still is very deep. Explanations in the Books are there and then also not. As an example: "When placing your new DL (page six, unless used for other routines, is a good protected place to put it), do a POKE 559,0 to disable the DL fetch instructions, then POKE it with the proper value to turn it back on afterwards." I mean, what exactly is the proper value here!? And yes, Page six (256*6 = 1536, hex $600} is safe from OS, but not from other software. In general you need to consult several books and also COMPUTE! Computer Magazine and a few more to get behind the mistery of DISPLAYLIST magic. MAPPING THE ATARI is mentioning all these, so suggest you start from there! Not a problem at all, I actually find all these very interesting! While fighting, pardon, swimming through the DISPLAYLIST waters, I made a few examples and a code which will help you list DISPLAYLIST data. It should help you a little bit, if nothing else. I had issues extracting GRAPHICS MODES x + 16 {full screen versions} Can only blame the emulator because normally that is possible! That is why could list only all default GRAPHICS MODES {those with SPLITSCREEN and those pure TEXT, like GRAPHICS 0 or pure GRAPHICS, like GTIA Modes 9-11} My suggestion is to just try and experiment and understand what's happening when you play with the numbers, LMS addresses, screen start addresses and DISPLAYLIST addresses. The best way to learn! |
|||
| DISPLAY-LIST-ADDITION | Download {.txt File} | DLI {interrupt} | |
![]() |
![]() |
![]() |
![]() |
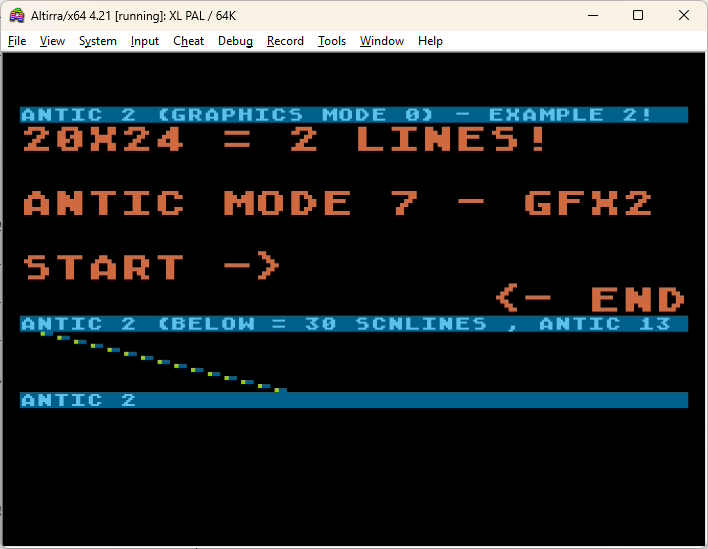
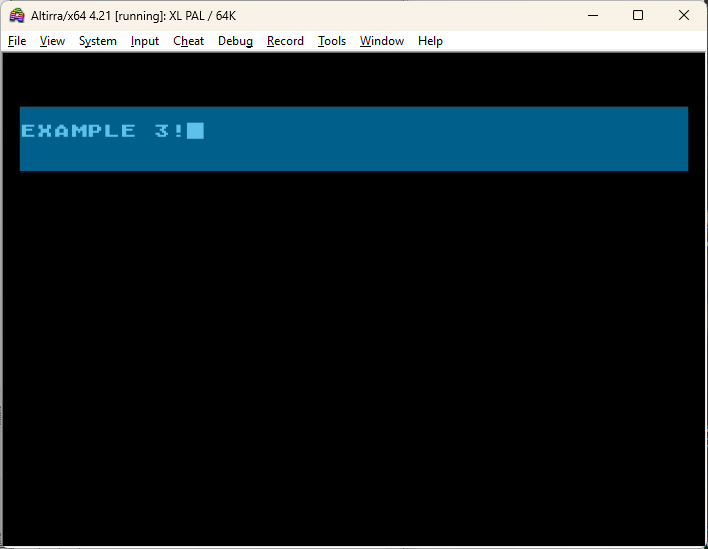
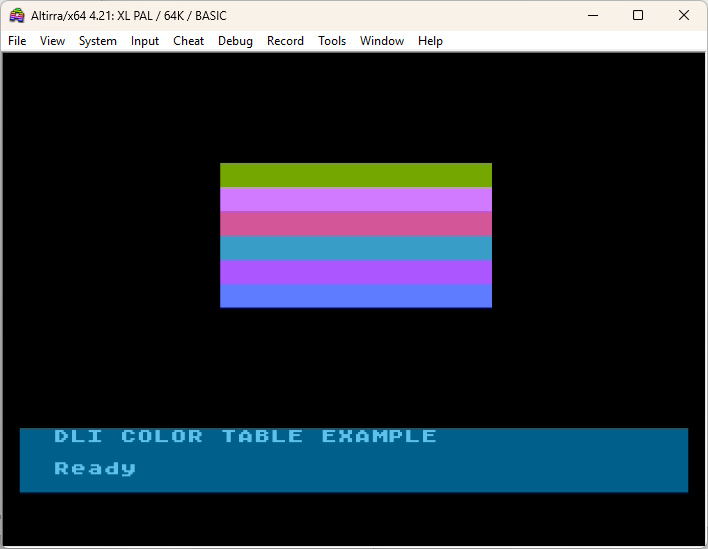
| While search for more information in regard to DISPLAYLIST, I found this 3 BASIC files and decided to make them available here. That are short programs and ideal to study and include into your understanding of DISPLAYLIST. What I also like about it: things like that are showing you ideas and that is always good for your own creativity. 25.12.2025 - UPDATE {last picture} Adding one more DISPLAYLIST listing to show how there obviously is more than one way to access DLI and achieve whatever you want. Here including the interrupt. It doesn't look like it's how it is meant to be because the upper part is a few bytes different than the rest. I have no real HW and cannot tell if it is again the emulation or it is how it's should be! Anyway, the original source code is attached incl. the author mentioning. From my part i did convert the assembler {mads} source code to be SynAssembler compatible since that is what i am using here {and i hope you too, haha} I added this here because we are talking about DLI latelly and because also a BASIC version is included of the assembler source code {mads} |
|||
| These pages are NOT USING any kind of cookies or whatever tracking, monitoring, controlling etc. tools. |
| It's pure and old-fashion webseite like back in the retro days {let's ignore some scripting here & there for a little while!} |
| Complete content was created by using retro systems emulator for all here mentioned computers. |
| No real hardware was involved so far {and if it will be one day, it will be additionally mentioned within the subject} |
| NOTE: Use all here at your own risk! I am taking no responsibilities in case of any data loses or damages! |
| In case you doubt your abilities to properly use applications available on MZRETRO.CH, please consider to not use them @ all! |