| RETRO ZONE POWERED BY MZRETRO © 2025 All rights reserved! |
| EDASS-128 {ASSEMBLER} | |||
| Download EDASS-128 | EDASS-128-GER-Book | EDASS-128-SFK-EXTRA | |
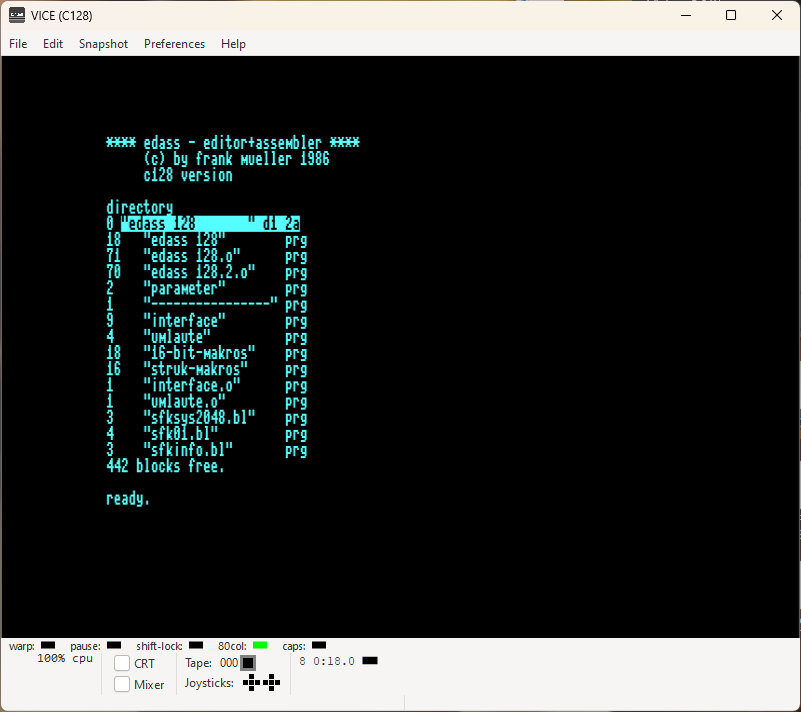
| This is the MAIN ASSEMBLER used for everything what you can find here! That of course should not stop you to use something else... I have a few other Assemblers listed right below! | |||
| ALTERNATIVE ASSEMBLER | |||
| DoubleAssembler-128 | Merlin-128 | PowerAssembler-128 | LADS-128 |
| DoubleAssem-ENG-Book | MERLIN-ENG-Books | PowerAssem-ENG-Book | LADS-ENG-Book |
| EDASS-128 SCREENS | |||
![]() |
![]() |
![]() |
|
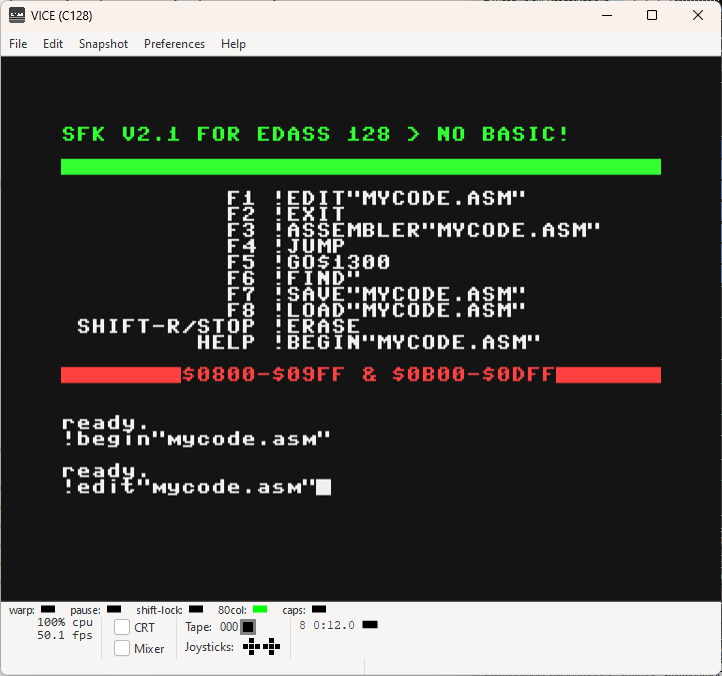
| SFK V2.1 Revision A3 | |||
![]() |
![]() |
![]() |
|
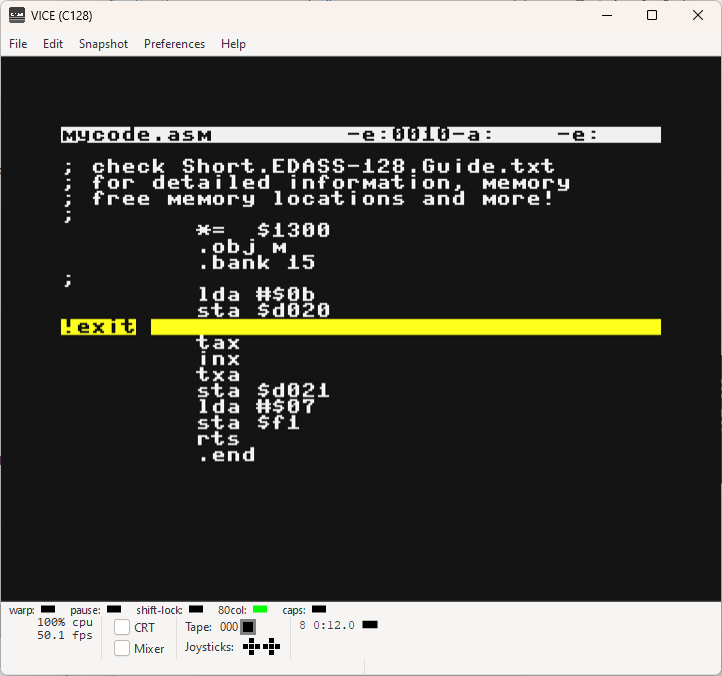
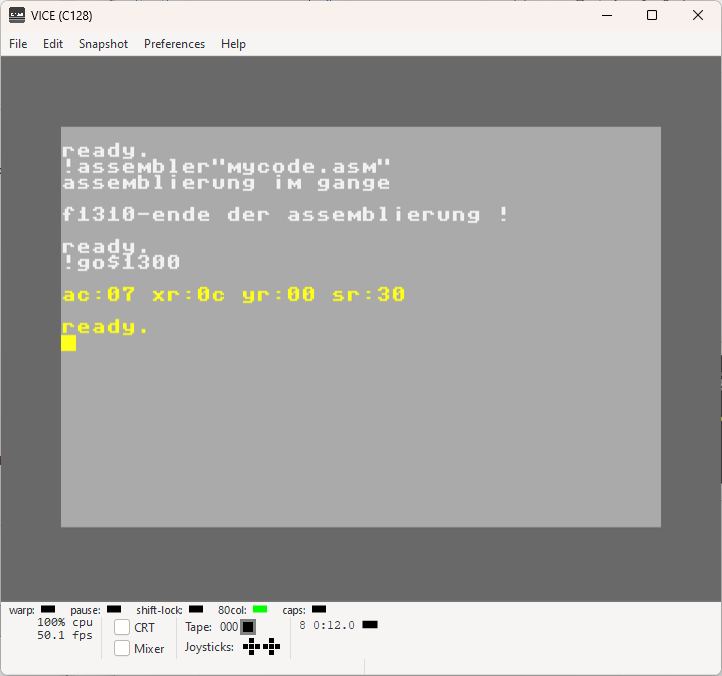
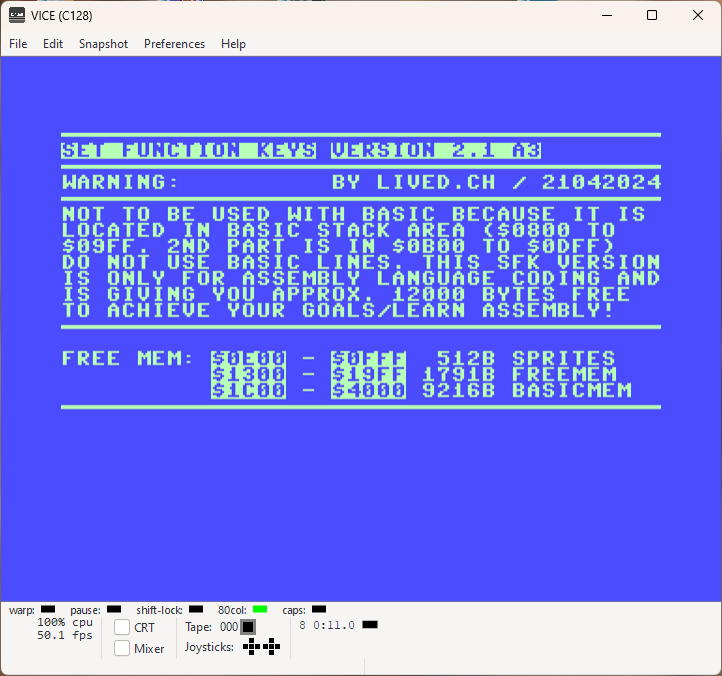
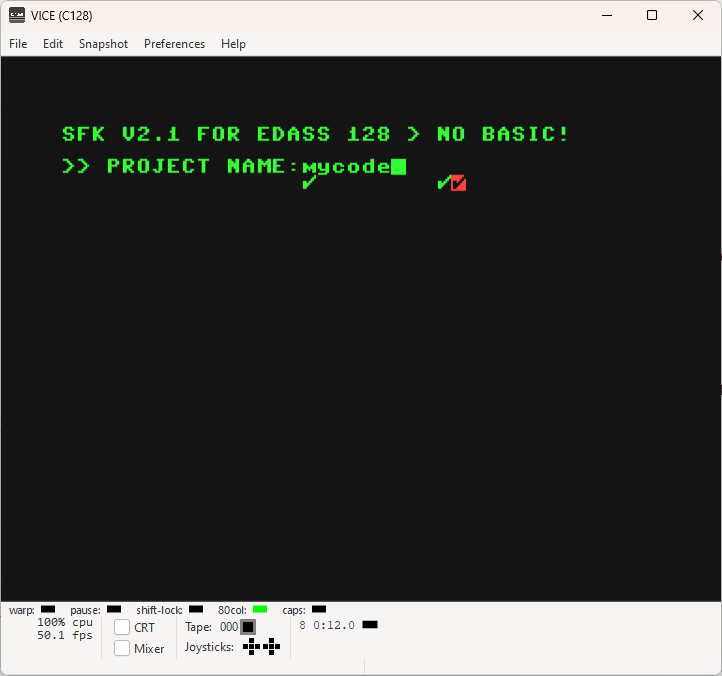
| Rarely someone is talking about EDASS-128! Editor/Assembler for Commodore C128 {40/80 column screen, no line numbers!} First reason would probably be because it is for the Commodore C128 and NOT for the Commodore C64 {well, there is also C64 version available, but nobody is talking about it anyway} Second reason is one of those "Commodore C128 is NOT good as a coding environment". It's much better to use one of many Cross-Assembler-Environment! All i can say related to that, is how those guys never worked with 40/80-column screens. A combo which is giving a perfect environment to code natively, directly using the Commodore C128 Personal Computer! Working like that, it is easy to manage even bigger projects! C128 and EDASS-128 were used back in the days to make NES Games and that is telling something! I couldn't find any ENGLISH version, just German {commands are all ENGLISH anyway!}. Instruction is also only German, however, I am providing small English guide and some English examples which will be more that helpful to start with assembly programming. For those guys who, for whatever reason, won't like EDASS-128, I made a couple of other C128 assemblers ready and hopefully there will be one you want to work with. What you should note is that all examples are EDASS-128 ready. Meaning, you'll have to adapted them to avoid any errors with other Assemblers! Before you start EDASS-128, please consider reading the manual, info and all there is in the attached file. It will halp you a lot to start coding and see first results. All that was created by me because I couldn't find much about EDASS-128 EDitor-ASSembler! Furthermore, below you can find a Bonus-Material on floppy disk and also listings of the source codes for the EDASS-128 assembler! Now a few words about SFK and why it is existing: SFK means Set Function Keys and you'll need them a lot, unless you want to write all commands during the project time. In EDASS-128 you have to use: !BEGIN, !EDIT, !EXIT, !ASSEMBLER, !SAVE, !LOAD etc. during programming. And all that very often! At first i thought, no big deal, but when you have to write 50 times !EDIT"PROJECT.ASM" and then the same for !ASSEMBLER etc., it will eat your last existing nerve. Therefore i made a decision to create SFK to make my life easier! First version was pure BASIC, however, after i learned a thing or two about assembly coding, i programmed the complete SFK Tool in assembler. I couldn't live without anymore while using EDASS-128! The only restriction SFK V2.1 Revision A3 is having: You *can't do BASIC Programs because it is occupying the BUFFER space from $0800-$09FF! No big deal, because focus is on assembly coding anyway. {*=well, you could or can, but it will make SFK not functional any more} SFK BASIC version is attached as a .txt file in case you want to mix Assembly/BASIC. Unfortunately, with just 2KB free space you won't be able to do nothing really useful in BASIC. Therefore, better focus on assembly coding only! |
|||
| EDASS-128-BONUS | Download | ||
| This is giving you some extra material for your EDASS-128 Assembler. Included are many examples and also how to access REU and copy any screen content to REU and transfer it back again to the screen memory. All that MONO or including different COLORS. Which means $0400 and $d800 are copied to and transferred from REU back to Commodore C128 memory This text file is part of the download package! FreeMem-EDASS128-C128 Examples.txt Click on it to see what is awaiting you... Except REU part, which was only adapted, modified, bug fixed and extended by me, the complete source codes were written by me. I started sweating and create the content because, again, there isn't much there for the C128! It is mostly just C64! So why not change that! |
|||
| EDAS Version 1.8 / 1988 | GitHub-Page | ||||||
![]() |
|||||||
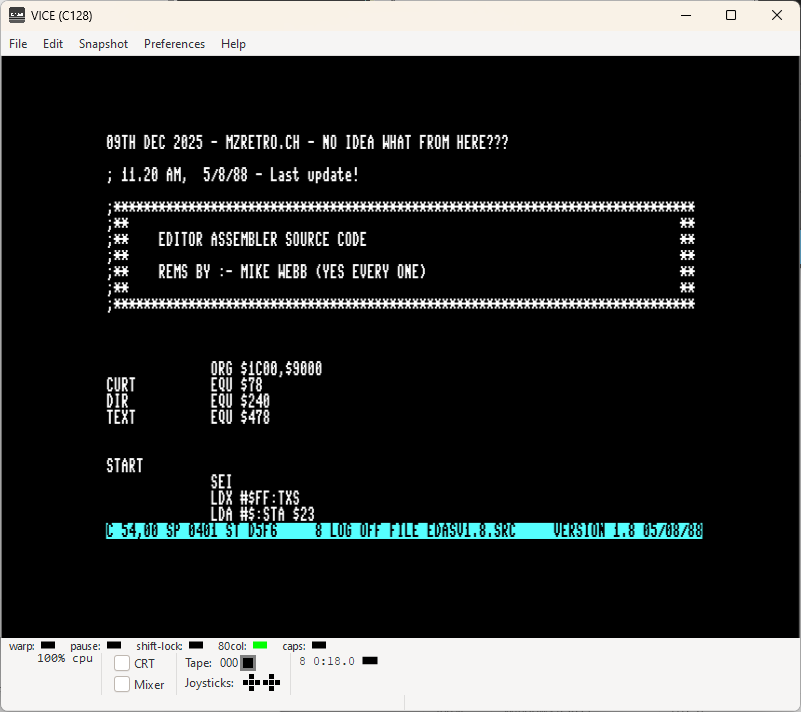
| MIKE's Web EDAS EDITOR-ASSEMBLER Version 1.8 {Looks pretty much very custom version for specific purpose and needs additional hardware} While i was searching for a newer version of EDASS-128, i found this EDAS-Version 1.8 for Commodore C128... My 1st thoughts were: WOW!!! And my 2nd thoughts minutes later: OH NOOO!!! Obviously, EDAS-V1.8 is not even nearly a successor to EDASS-128, but something completely else. Yes, it is for Commodore C128 {or actually not!}, but that's it already! After testing and trying it out, all i can say is how it is a custom assembler made for C128 with intentions to not necessarily develop for the same computer! Why would i think that? As first, it does cripple the 40-column video output. Which made me think something was connected to Commodore C128 and video output was redirected and probably other signals?
According to the informations from the page {see GitHub-Page link} people were making games for the NES Game Console back then. It is good possible how there were also other versions of EDAS V1.x which actually might have been fully C128 compatible, however this one obviosly isn't! And that is because it's unuseable for any C128 development without the 40-column screen, especially not making C128 games. You practically have no access to sprites! {VDC does not support them} --- Well, that just wasn't our lucky day this time. Perhaps the next version of EDAS V1.x will be more Commodore C128 friendly! --- If you want to try it anyway, the download link is leading to the page where you can get it and also find some additional information. --- For the time being we will just stick with EDASS-128 as it is working just fine and very stable! |
|||||||
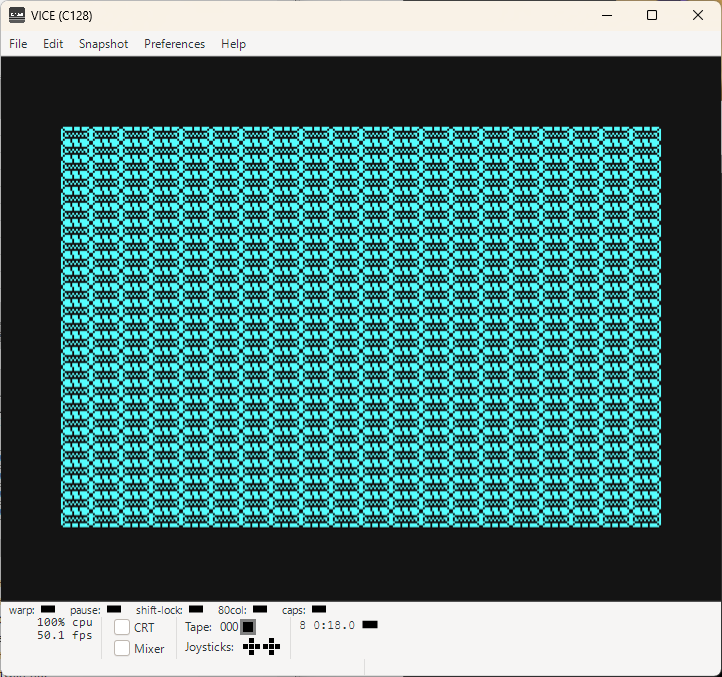
| SCREEN-CHAOS | Download {.txt File} | ScreenChaos.d71 {.asm} | |
![]() |
![]() |
![]() |
|
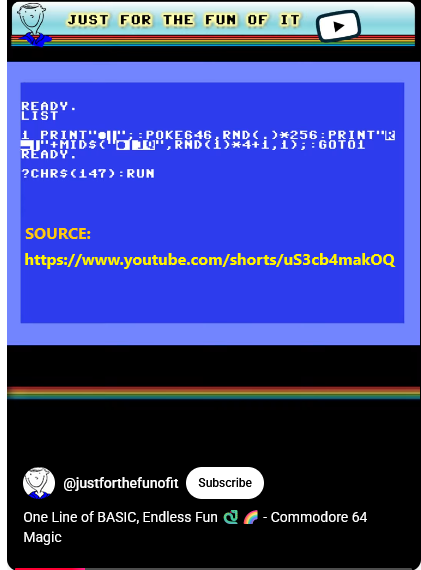
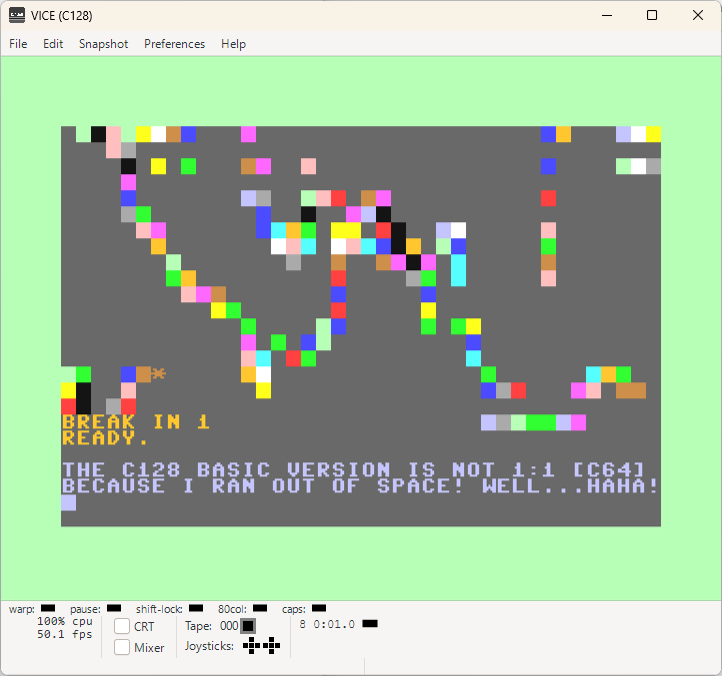
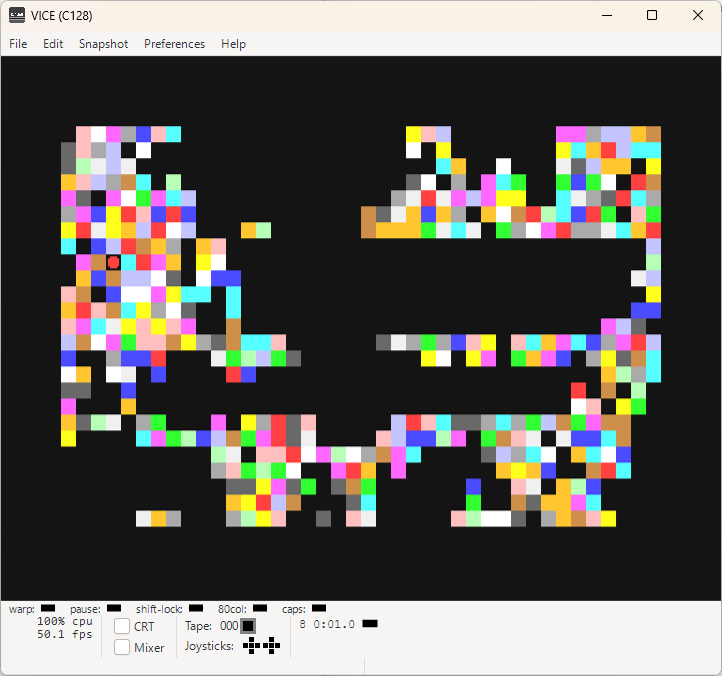
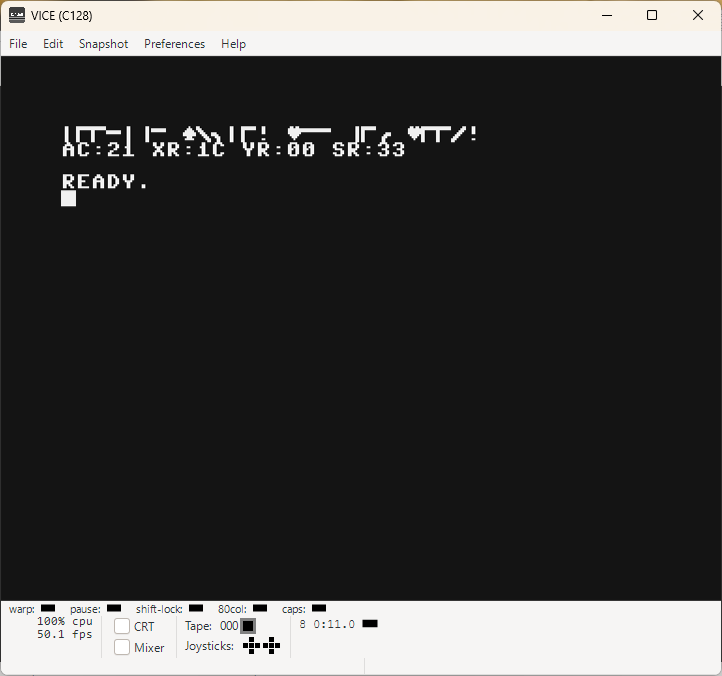
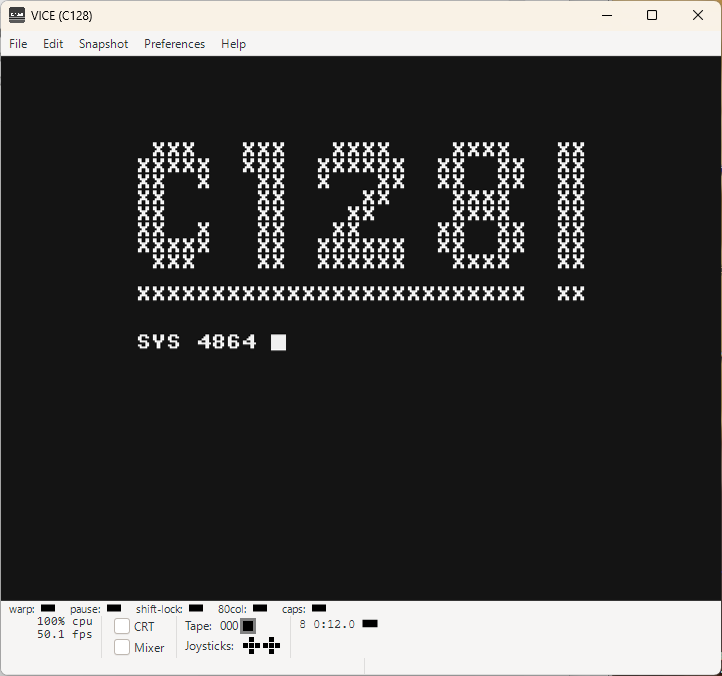
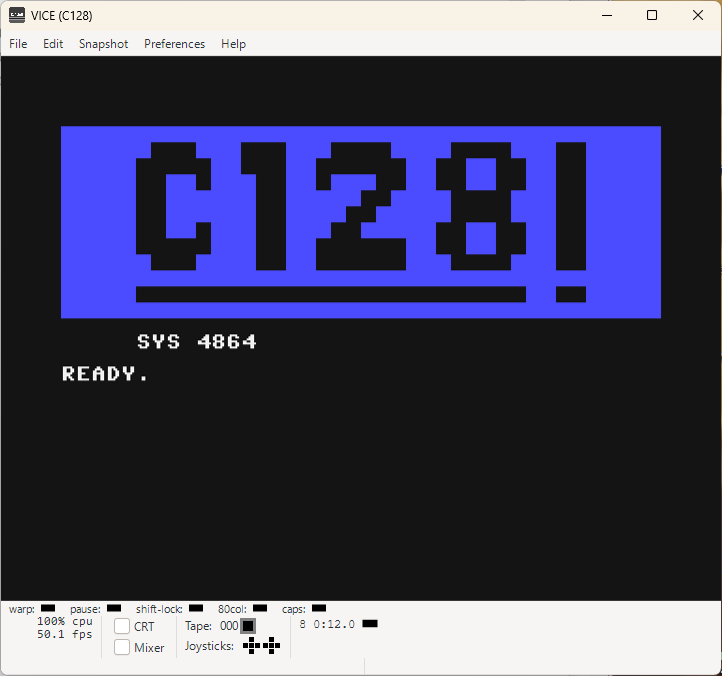
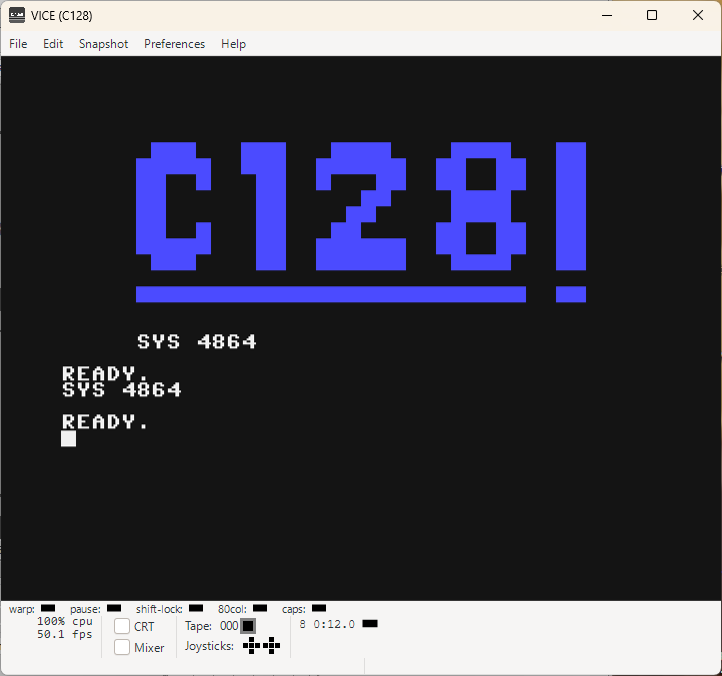
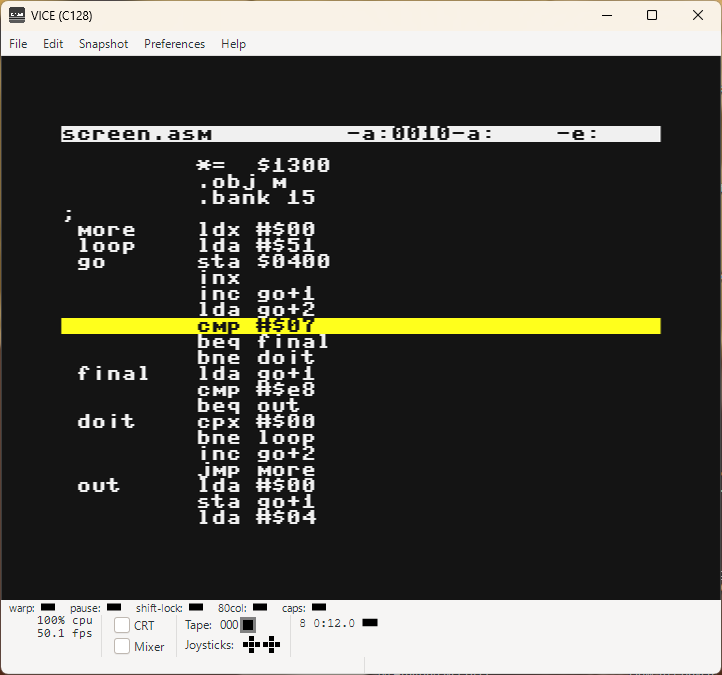
| I borrowed the BASIC idea and made an assembly version out of it! {credits are given} Where I got this one is mentioned in the .txt file. The main difference is, it was delivered as a BASIC line and I made a short assembler code out of it. The main goal was to make it 1:1 compared to the original code and if you translate the graphics commands, you'll notice how BASIC and assembler are basically doing step by step the same thing. It is just a little bit faster in assembler, however not much faster because KERNAL output routine is used to show the text, graphics on the screen {JSR $FFD2}. I assume PRINT is using the same routine, just from BASIC and that is why there it is a slightly slower. Nevertheless, it looks impressive as "hispeed" assembler version! It starts with SYS 4864 and later you can use Q to interrupt the execution and exit to BASIC. This is written in EDASS-128. Commodore C128 native assembler. My little me is not so the cross-assembler guy, but do not let that stop you to use cross-assembler environment. However, for 100% retro fun, consider using the EDASS-128 {Editor/Assembler} Read this for quick entry! |
|||
| TEXT-OUTPUT | Download {.txt File} | ||
![]() |
![]() |
![]() |
![]() |
![]() |
![]() |
![]() |
|
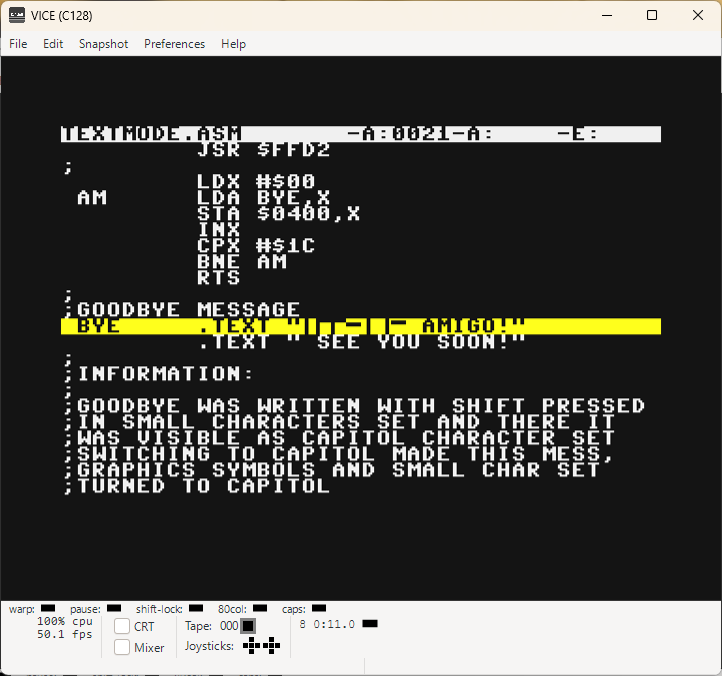
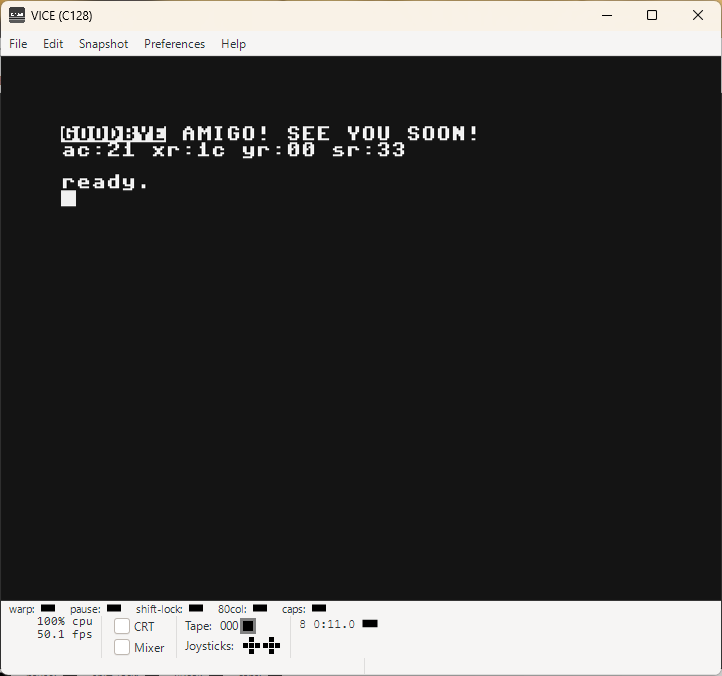
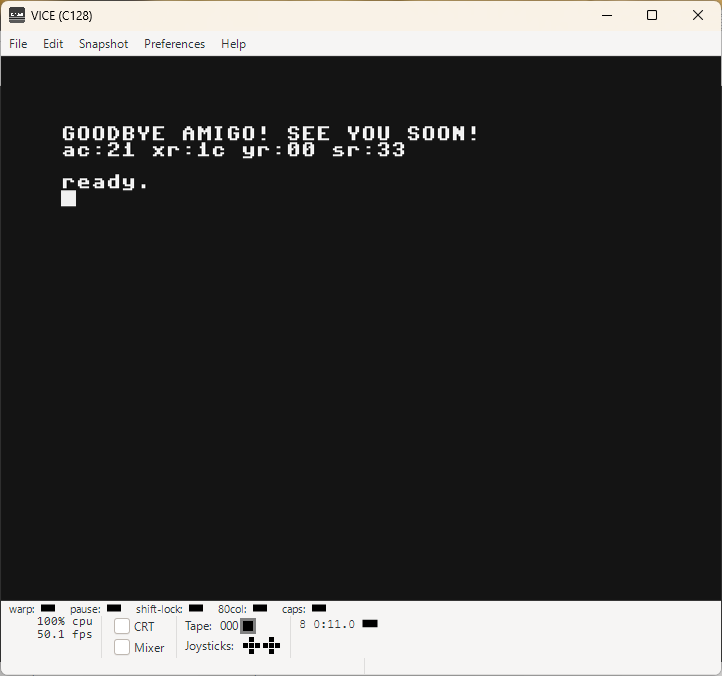
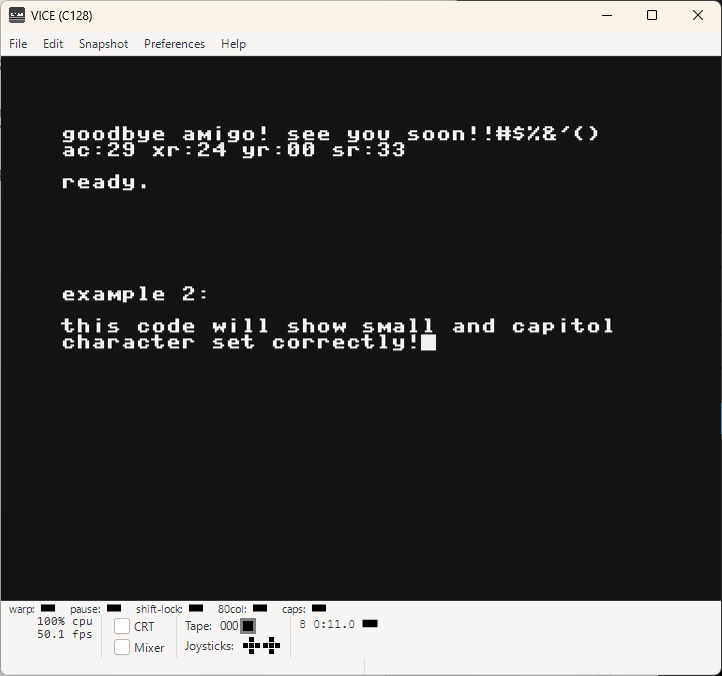
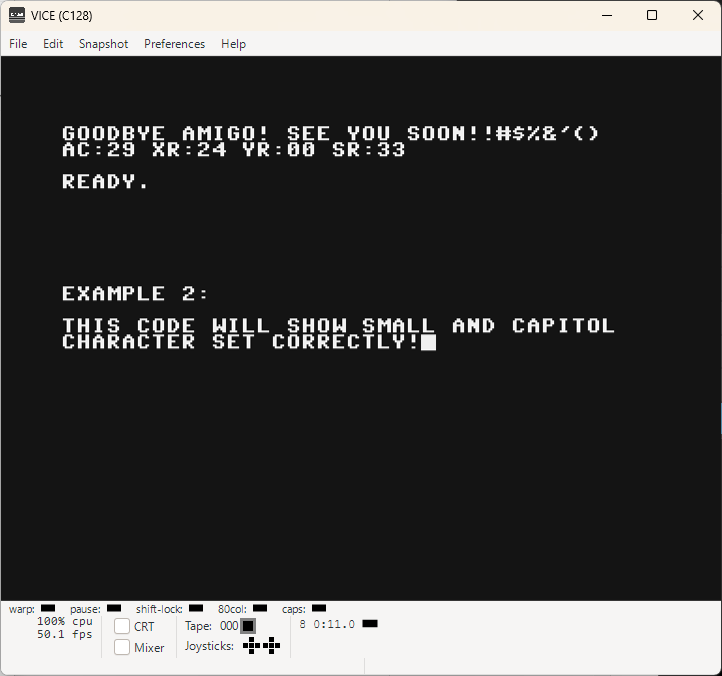
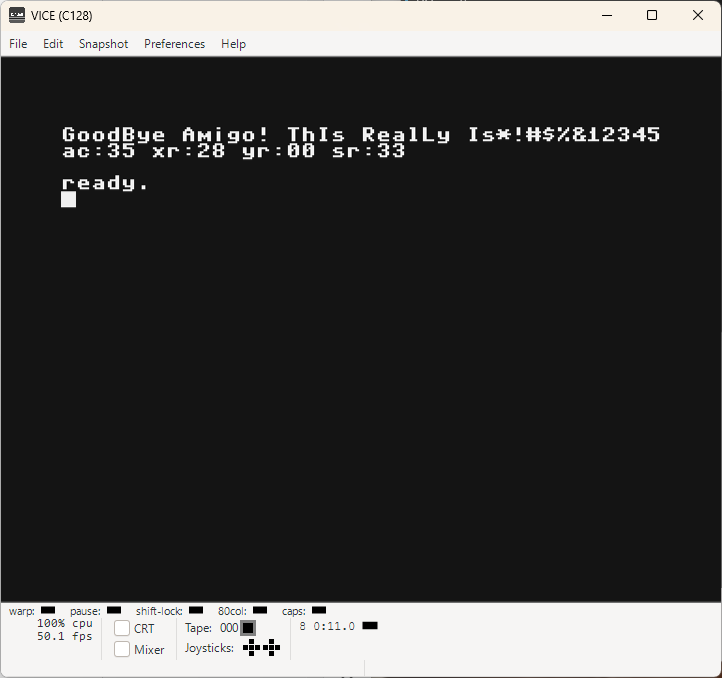
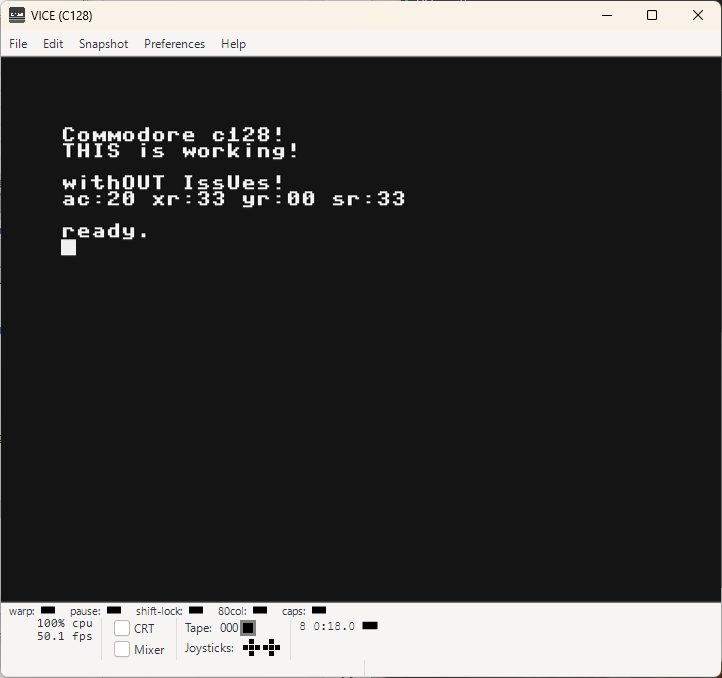
| DONT'T MISS THIS! HIGHLY USEFUL! Many screenshot, but that's how it looks when you need to fight with EDASS-128 and displaying the correct font or better say to display what you have planned to show on the screen. So far i used always character decoding and was writing using the .BYTE commanmd and not .TEXT command which would actually be easier, but i never managed to do it correctly. Until now, that is! Haha... Now you can profit from it and enjoy text writing with EDASS-128 without sweating. I made three examples to show you the best possible way why this is {or was!} an issue. Plenty of screenshots are added too and there is no way you cannot see the problem. And solution is actually easy as you can in the attached text document. Last picture is how how now you'll be able to write small and capitol letters without worries! NOTE!: I cannot tell if this will work with other asemblers. It's made to fix the EDASS-128 text output difficulties when using STA command {POKE in BASIC}. |
|||
| FFD2-TEXT-OUTPUT | Download {.txt File} | ||
![]() |
![]() |
||
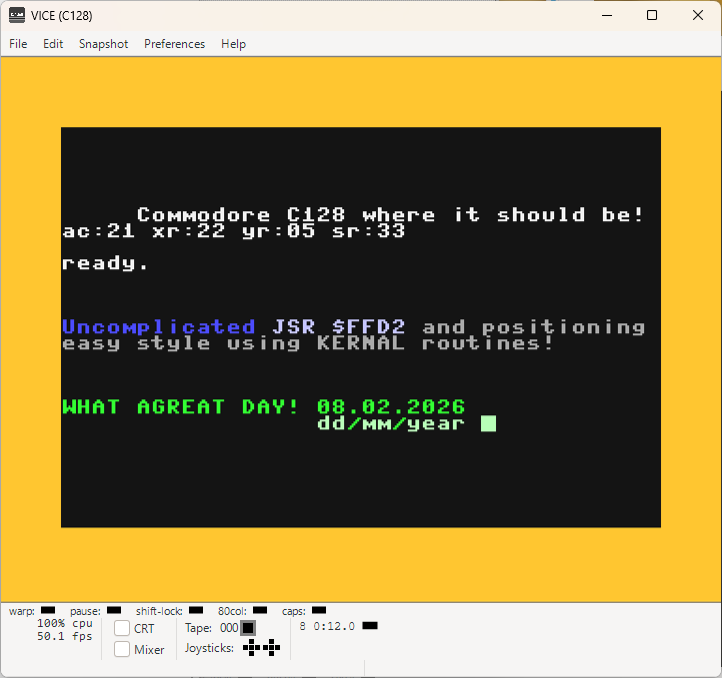
| AND EVEN MORE OPTIONS THAN BEFORE. LET'S DO SOME TEXT! Previous lesson above was all about bringing the text on the screen using assembly command STA which is basically the same as POKE in {many, if not all} 8bit BASIC programming languages. Today we will use PRINT {jsr $ffd2} instead of POKE and bring some text on the screen. And that was actually easier than i thought it would be. Even after adding a small PLOT routine which is a part of the KERNAL ROM routines, the code was smaller, simpler and is even offering more posibilities thanks to all the control functions one can use {check the C128 books for more information in regard to that!} I made just two examples because practically more isn't needed to understand how it works. |
|||
| RASTER-BARS-01 | Download {.txt} | ||
![]() |
|||
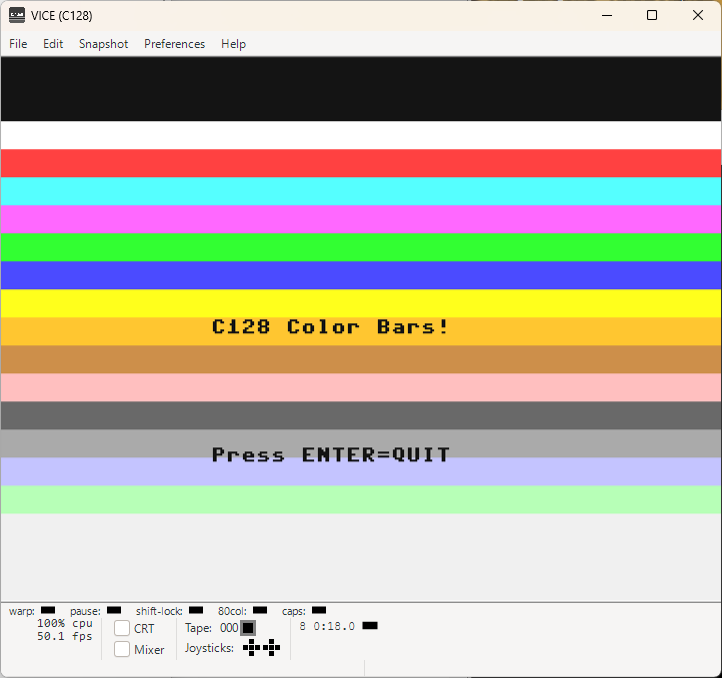
| I JUST HAD TO DO IT! A static raster bar! Can be interrupted by pressing ENTER. I never really did experiment with raster bars, but this one came out pretty good. FFD2 was used to show text, however, to have it in two different positions, you must repeat yourself for each position. Maybe there is an alternative way existing. Need to find it out... Or sure, you could do it too! |
|||
| RASTER-BARS-02 | Download {.txt File} | ||
![]() |
|||
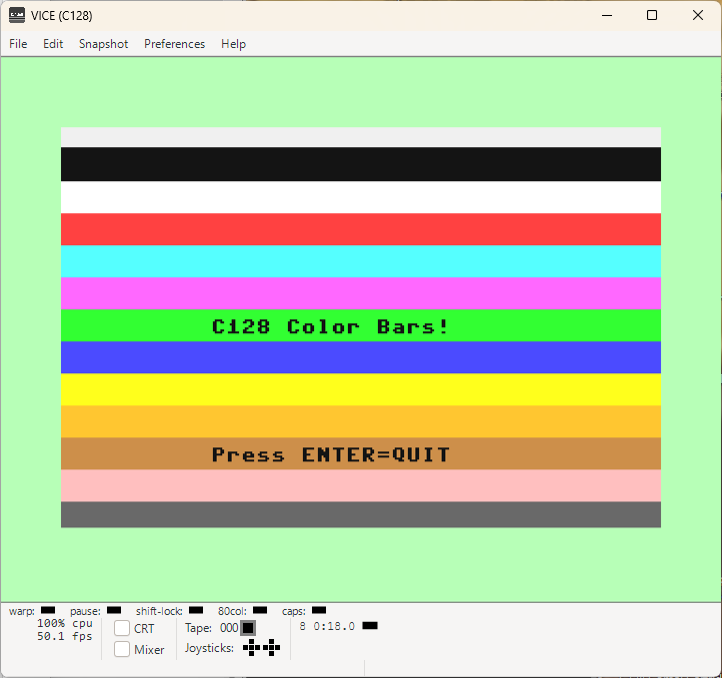
| AND OOOPPPSSS....Raster bars again! Of course, just not static! Well, not that you can see it here, but it really is rolling down. I didn't changed much. It was just a little "what if i try this..." case. Many existing scroll-raster-bars were probably born exactly because of that reason. I bet it was 99% random result while trying things out! Exactly what i did too... You could say: All that is very probably existing and it's probably better... And sure, yes, it is true! But even those better guys were not born that way. It took them a while until they got there. For my part, I can say that this is for me more interesting approach than just see it somewhere. That is also why this isn't finished scrollbar routine! It is missing so much, but that should motivate you to find exactly the missing details and learn programming that way! It is not responding when ENTER is pressed {you're welcome to present a solution!} For now, you must interrupt it with RUN/STOP & RESTORE The more you practice, the better you'll become! |
|||
| DELETE-SCREEN-RND | Download {.txt File} | ||
![]() |
![]() |
||
| SCREEN DELETION WITH RANDOM VALUES The picture is already talking a book about it! Complete screen content will be deleted by using the random values which are delivered from the address $d41b, dec 54299 {I strongly suggest to "get in touch" with the COMPUTE! Mapping the Commodore C18 book for additional details. It's a great book, tons of useful information can be found on every single page!} We are dividing the screen in 4 parts and deleting the screen in 2 pairs {1/3 and 2/4} which then deletes everything with the final clear screen jsr $c142 call. Looks perfect, is perfect! |
|||
| 4-MODULES-GANG | Download {.txt File 1} | Download {.txt File 2} | 4-ModulesGang.d71 |
![]() |
![]() |
||
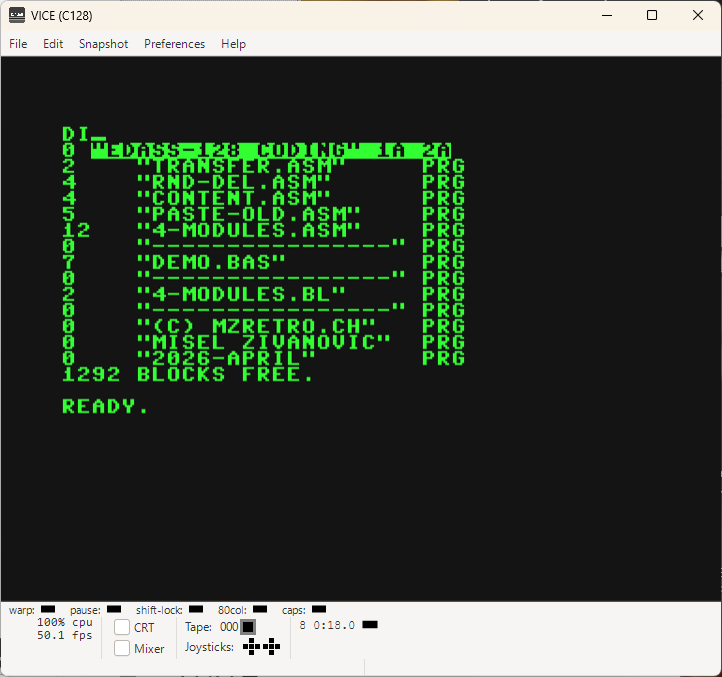
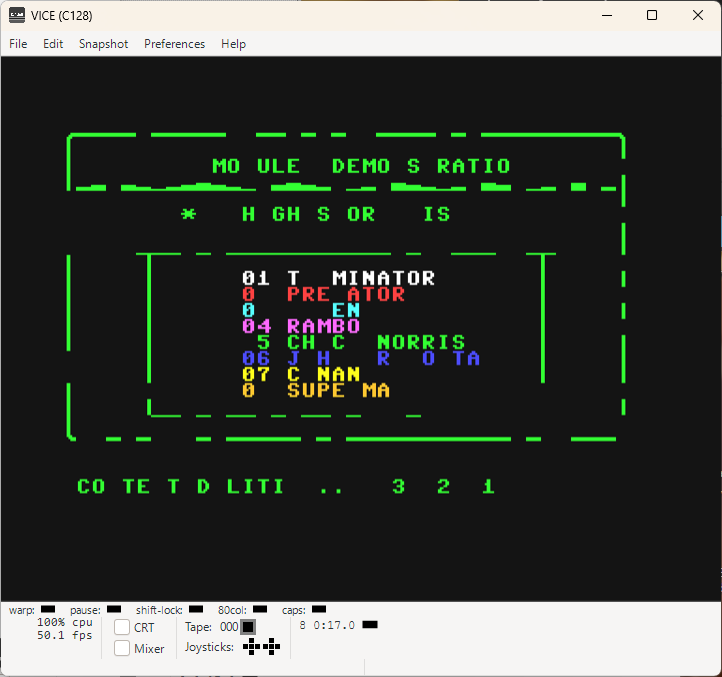
| 4-MODULES-GANG! {make a good use of them!} Okay, last time we were dealing with fancy screen deletion. Today we will see how the same effect can be also used for other things. I listed all modules individually, but also put all together, incl. the assembled code. All ready to go. You can see how it can be used by loading the BASIC 7.0 DEMO. You can try things out. Example: instead of deleting, you could just paste the transferred screen content directly over the existing one and achieve additional effect that way. Alright, it's all up to you now! Have fun and enjoy assembler with EDASS-128 on Commodore C128. |
|||
| GFX-DELETION | Download {.txt File 1} | Download {.txt File 2} | ZeroPage-GFX-DEL.d64 | ||||||
![]() |
![]() |
![]() |
|||||||
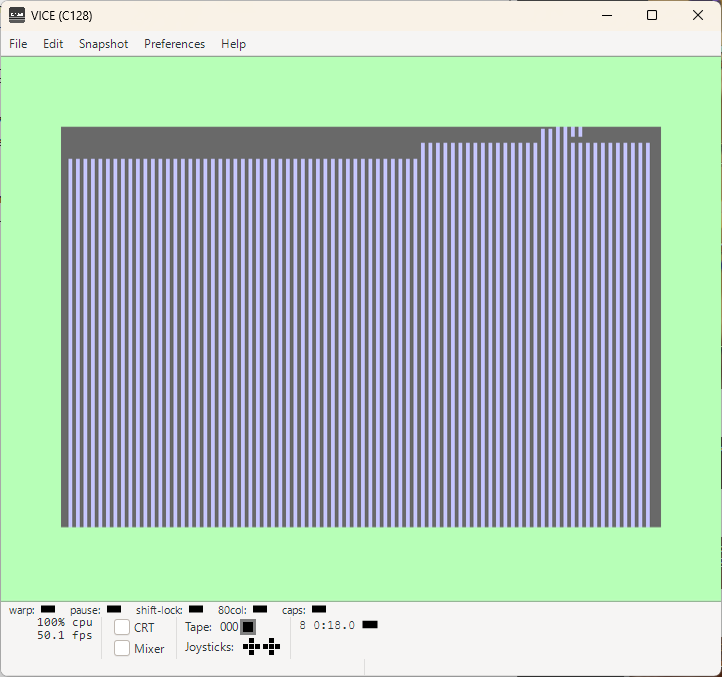
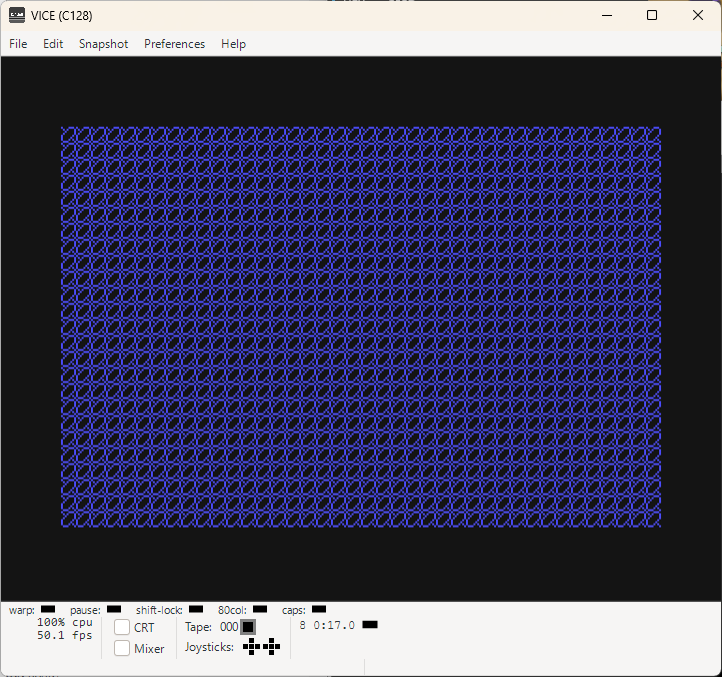
| DELETE GRAPHIC SCREEN with POINTERS! As always, there are different paths of solution for the same problem. The path you'll take if the problem is going to be resolved afterwards, was definitely the right one! In other words, ignore those guys telling you, you are doing it the wrong way as long as the result is correct!
Okey-Dokey, check the document and the floppy disk available for more information! As additional bonus, check also how you can make tiles instead of deleting the gfx by practically addig a few bytes to the existing code. - |
|||||||||
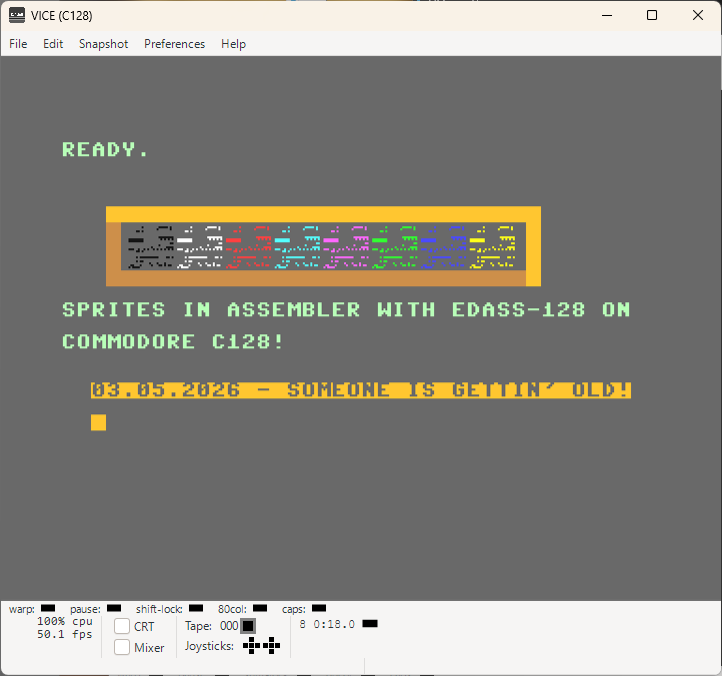
| SPRITES-C128 | Download {.txt File} | Sprites-C128.d64 | |
| SPRITES IN ASSEMBLER, COMMODORE C128 I bet i had that already somewhere, but repeating should be allowed, right. Every lesson is a thing where we learn something new even if the subject is the same. In addtion to what you need to know to bring the sprites on the screen, you'll also see how easy it can be to position sprites by using little addition which will, in loop, effect all sprites. In fact, you could use the, close to same, process to position sprites individually anywhere you want them on the screen. You would just need to read the x & y coordinates from the table. NOTE: ----------------------------------------------------------------------------------------------- Basically, it wouldn't be lda #$50, it would be lda xpos,x and ypos,x {or x/ypos,y} xpos .byte $50, $60, $70 etc. would be then x position ypos .byte $10, $15, $20 etc. would be then the y position of the sprite. ----------------------------------------------------------------------------------------------- I assume it could be a subject for the next lesson related to sprites! In any case, as can be seen, not difficult at all and even less complicated. Check the attached txt file and the disk! |
|||
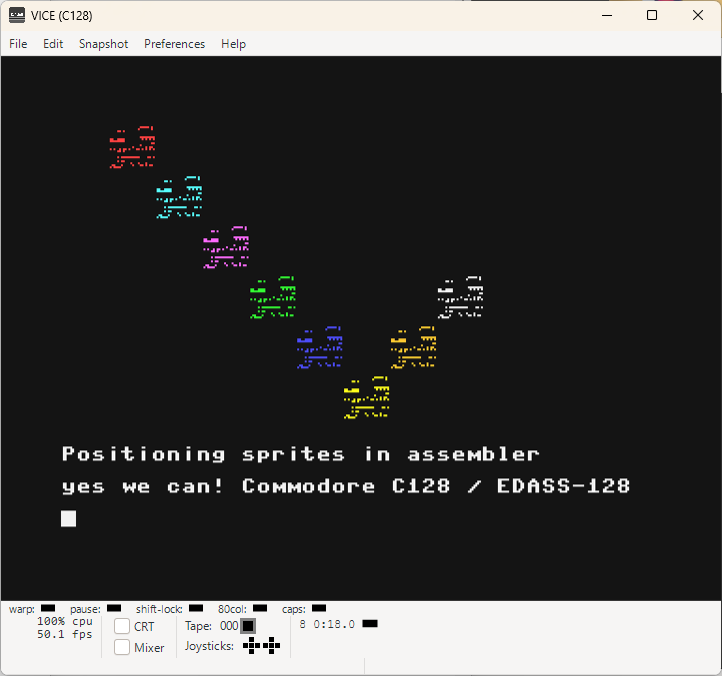
| SPRITE-COORDINATES | Download {.txt File} | SpriteCoordinates.d64 | |
| SPRITE POSITIONING - COORDINATES {Because you can} The best way to position sprites in assembler is the usage of tables which would actually be close to reading DATA statement in BASIC. As can be seen in attached text file, it isn't complicated at all. To show the flexibility of the loops and data tables, i also quickly squeezed the color attributes for all sprites which just took several additional bytes {2 commands and 8 bytes for color attributes}. It can be considered as a deal of the day! Bargain! Next time we could probably grab sprite collisions as our next subject! |
|||
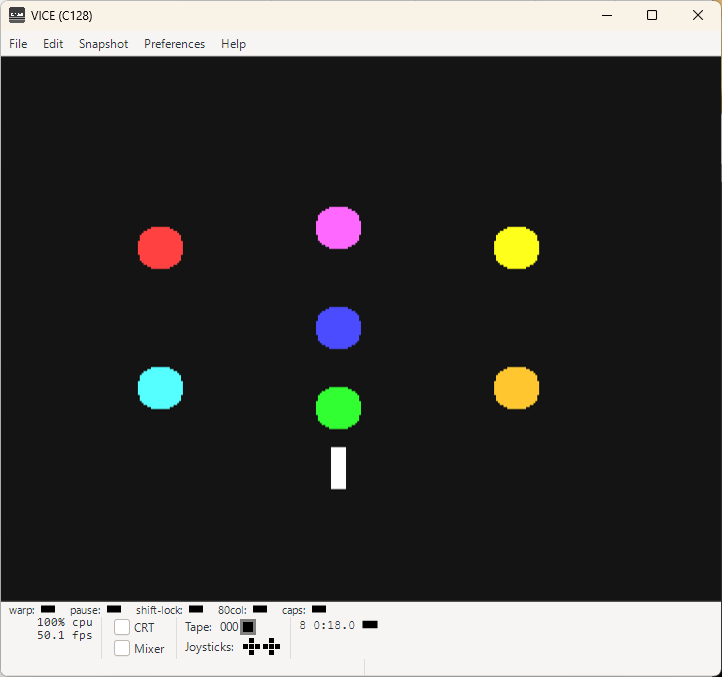
| SPRITE-SPRITE-COLLISION | Download {.txt File} | Sprite-Collision.d64 | |
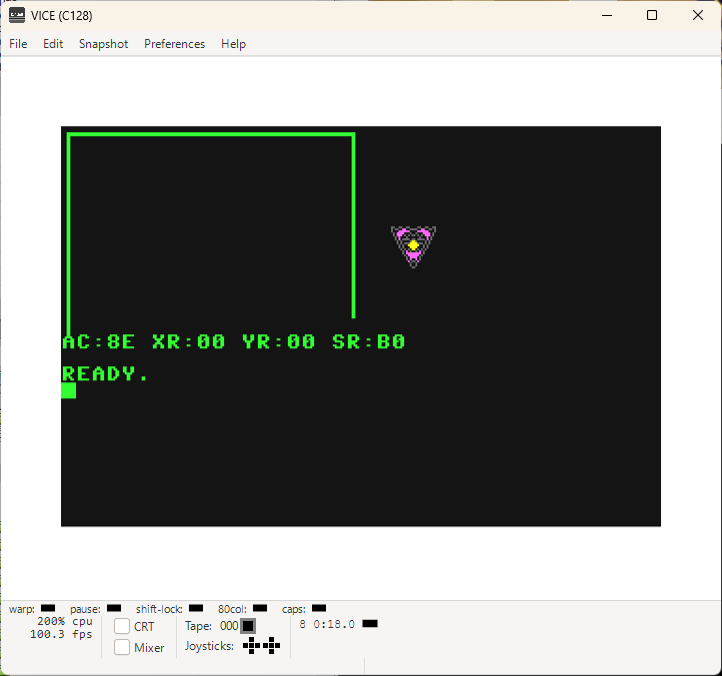
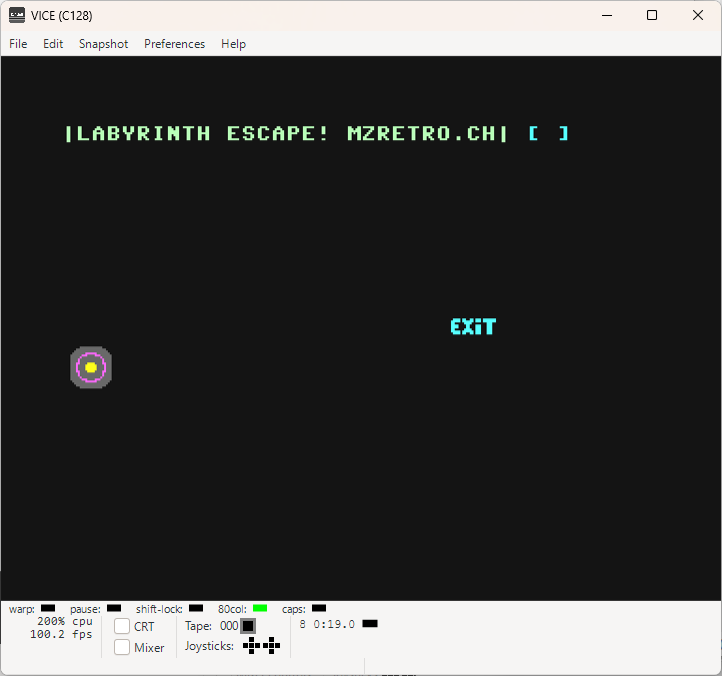
| COLLISION OR NOT, WHAT'S GONNA BE! While typing in this assembly lines, i reminded myself how i already back in the 80's had a plan to make a game in assembler... I actually can recall myself finding a paper like a decade or two? ago, where i "printed" all down out of my head and then... well, it went to collect dust again! Fortunately, I still have a copy in my head and it could slowly be time to make that thing be alive. It wasn't anything fancy. Actually, it was a labyrinth game where you just have a torch and need to find a way out and collect a thing or two while doing that {if you find it, of course} Hmmm, what's gonna be!? Just to quickly mention: No $d010 register was harmed during programming! So right side is forbiden, hehe... |
|||
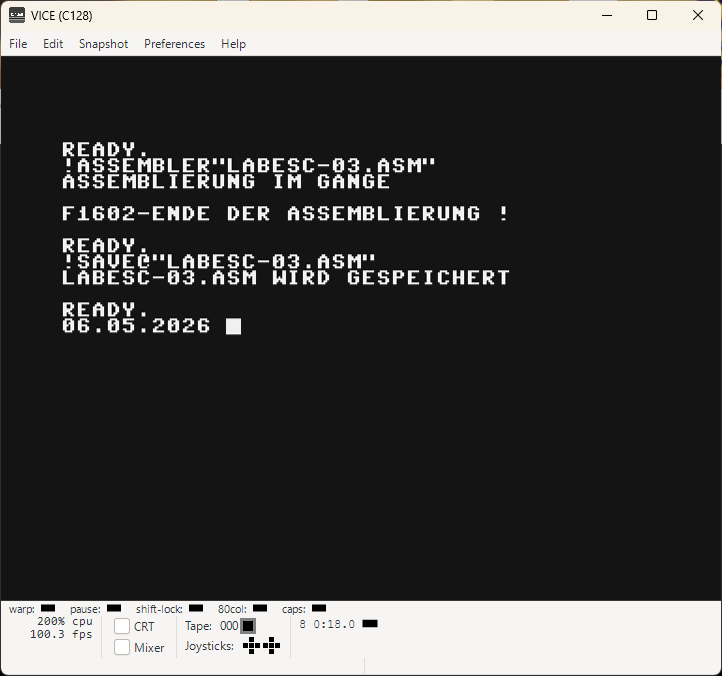
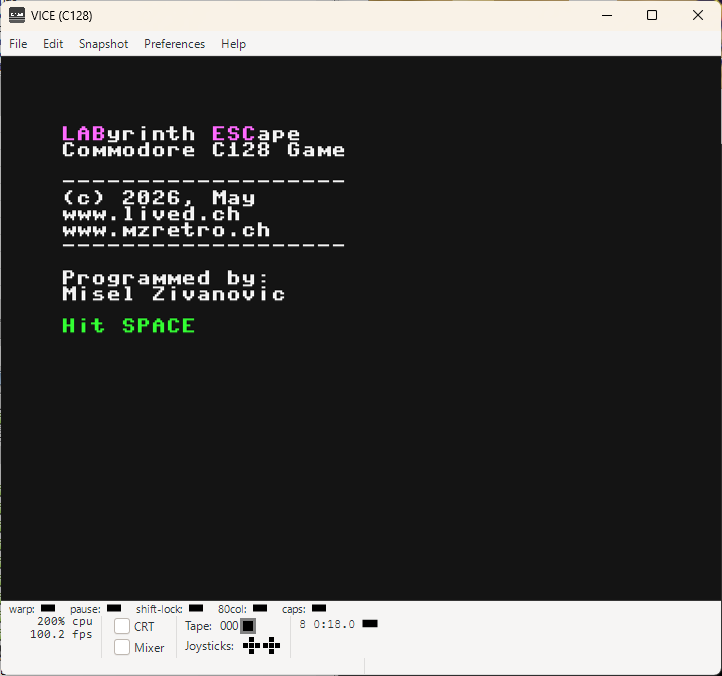
| LABESC-V1.0.0 | Download {.txt File} | LAByrinthESCape.d64 | LABESC-AssemblySource |
![]() |
![]() |
![]() |
![]() |
LAByrinth ESCape Version 1.0.0 {for Commodore C128} NOTE: |
|||
| SPRITE-MOVEMENT | Download {.txt File} | Move-Sprite-Full-Screen.d64 | |
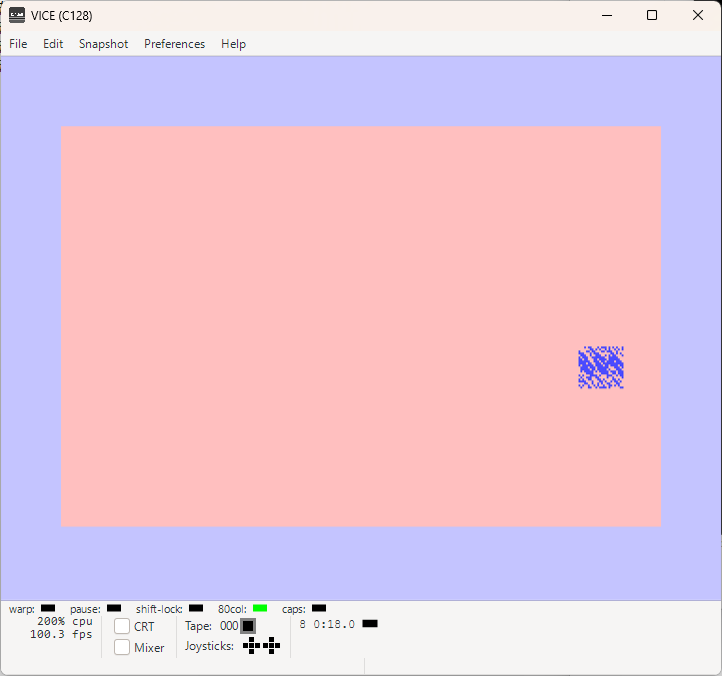
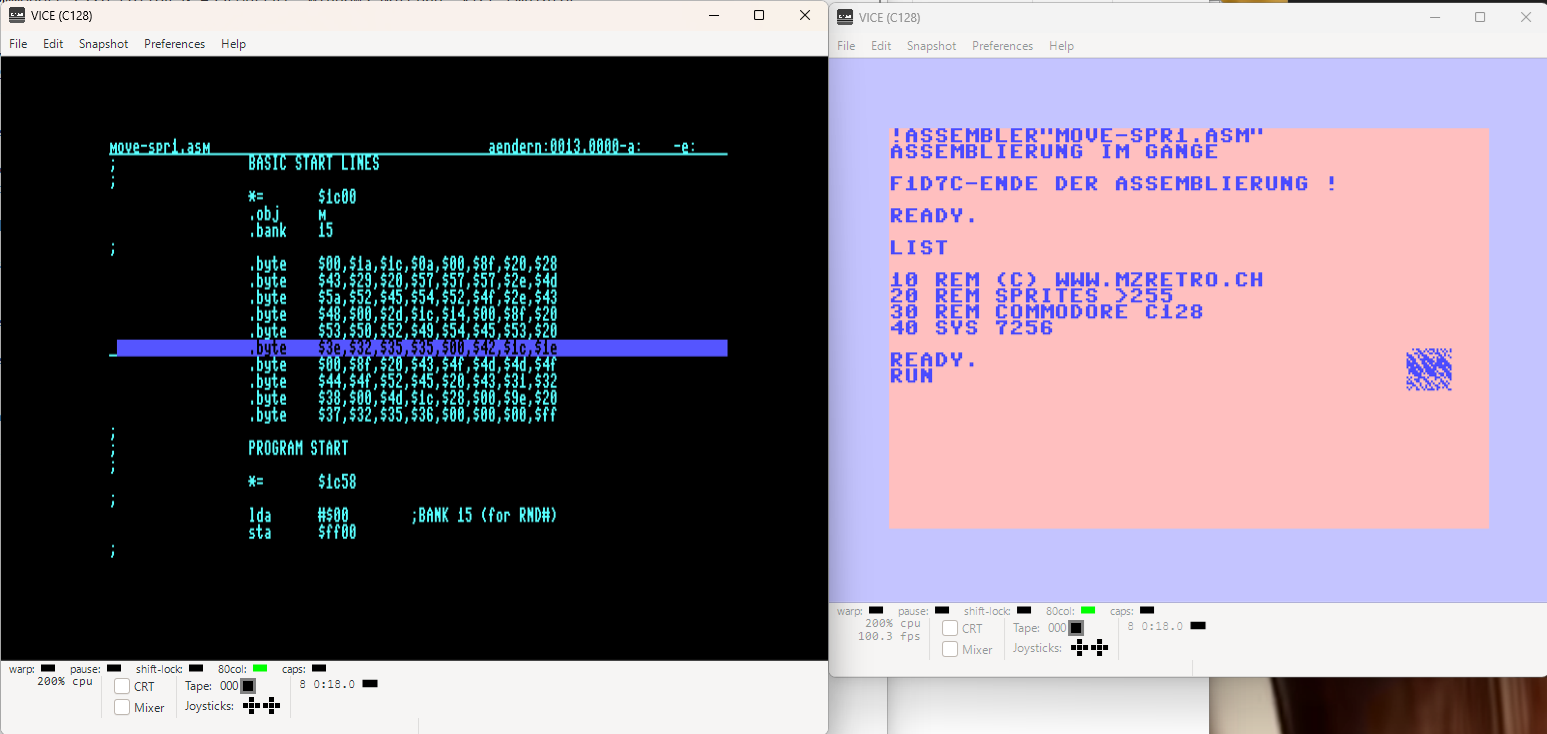
| MOVE SPRITE, FULL SCREEN {assembler} With 8 bit numbers where the maximal value is 255 and the screen resolution , horizontal, ends with 300, a little magic is needed to reach the number 300! And the magic trick is called $d010 or decimal 53264. It is the 9th bit for all sprites and you can use it individually per sprite. How this is working {this is one of many possibilities, meaning I made it that way, some will have completely other ideas, i guess}, is hopefully well enough explained. Anyway, included is EDASS-128 assembly source code, then also executable .bl file to be loaded with the Commodore C128 BLOAD command. Namely : bload"move-sprite.bl":run Source code is 80-column mode. Use this EDASS-128 configuration! |
|||
| BASIC-SYS-LINES | Download {.txt File} | ||
![]() |
![]() |
||
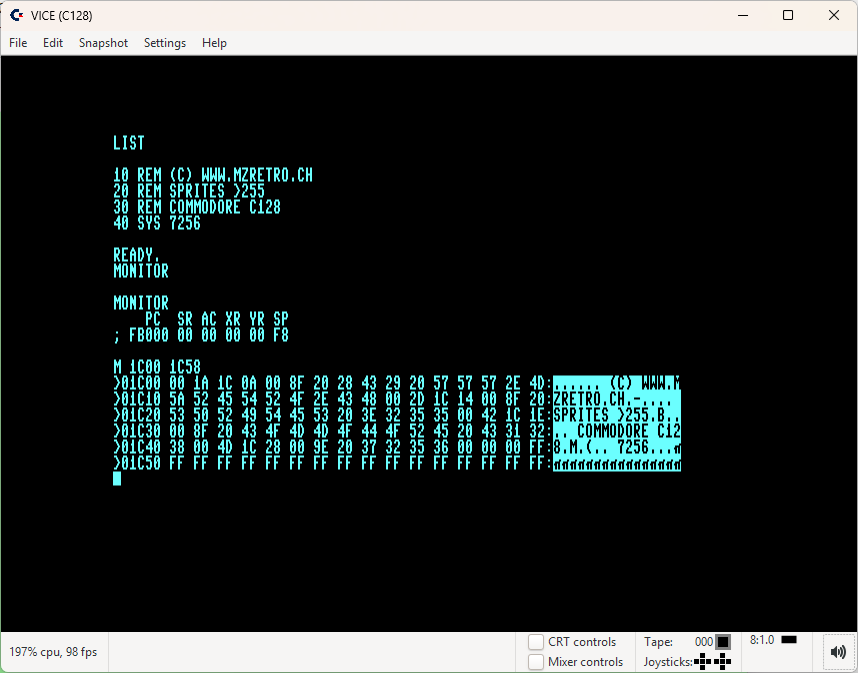
| BASIC-SYS-LINES for assembler programs! We are starting professional and are adding a few BASIC lines to start the applications, games, tools or whatever we are creating, like the real masters, haha... Not difficult to do it at all. Actually, it can be done under a minute {with some exercises} and the short version, really, time isn't worth mentioning... Now you know how easy it can be done, without sweating! |
|||
| OPPOSITE-SIDE-EXTENDED | Download {.txt File} | ||
![]() |
![]() |
![]() |
|
| WHEN IT IS EXTENDED I have this already as a small basic {no BASIC basic} version in ML-Monitor area. With EDASS-128 the idea was to extend it a bit. I actually added only the possibility to change the color and you can do more than it is visible here. This is 2x6 lines inverse mode with individual color settings and graphic {drawing} element. Basically, you can have a title with two different colors which can be changed with a POKE command. Depending on the start address, the POKE address is always a bit different. It's really easy to manage so I don't doubt that you'll make it work the way you want it. I am using inverse SPACE/CURSOR as a replacement for the inverse drawing #$a0, but you can use everything else too. |
|||
| SOUND-EFFECT | Download {.txt File} | SoundEffect.d71 | |
![]() |
|||
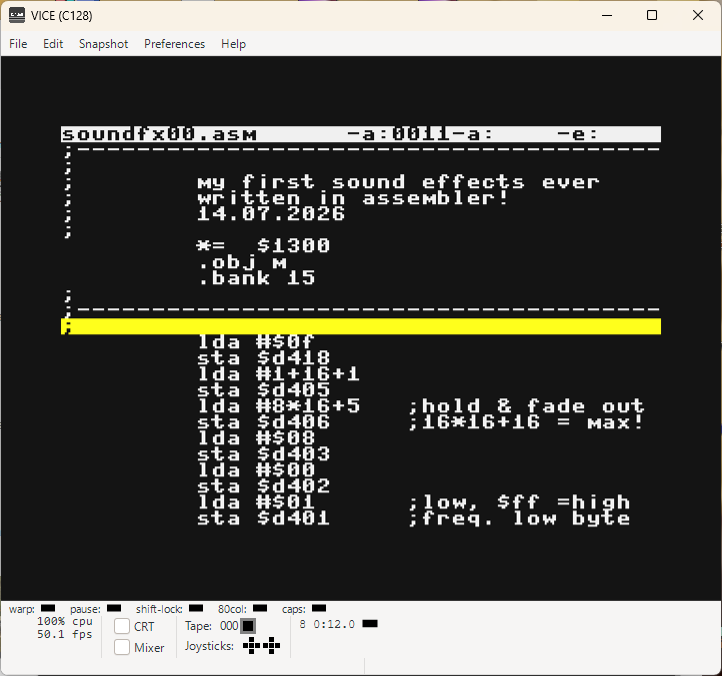
| MUTE IS OUT! LET IT SOUNDS AGAIN! Today is the most important day for many, but it's just Tuesday to be honest! Normally I don't do sound in assembler, because I almost never need it! Even when i program a game, it's in BASIC 7, COMAL-80 or a mix of everything incl. assembler! And sound!? Well, that is always done in BASIC. Today I am interrupting the more than 4 decades old tradition! Here is my first sound typed in in assembler language using EDASS-128! |
|||
| KEYS-SOUND-FX | Download {.txt File} | KeysFx00.d71 | |
![]() |
|||
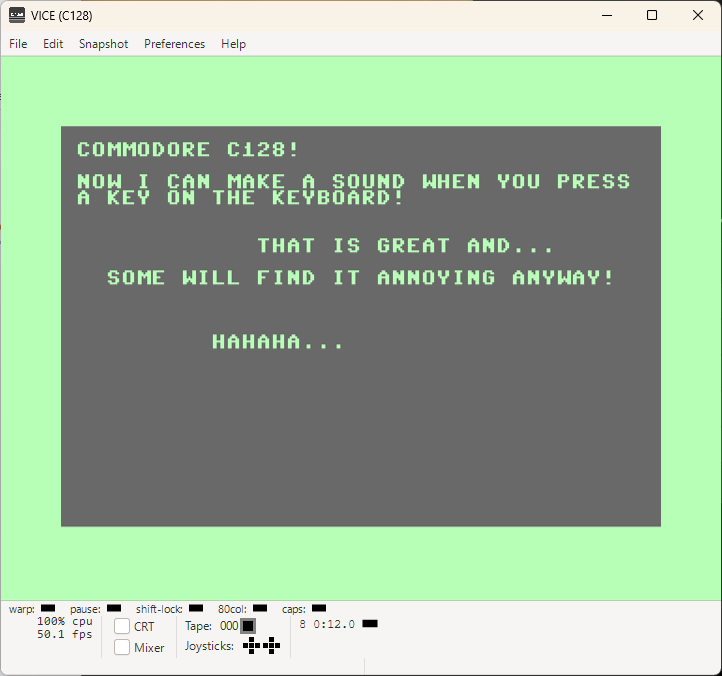
| LET'S MAKE SOME NOISE WHEN YOU HIT A KEY! When you type, you don't hear much. Now that i have my first sound code in assembler behind me, my next idea was to make keys do some noise and even if I don't think i made a perfect job here, I opened a way for some of you to make something better out of it! And maybe even use it for completely different purposes! Have fun! |
|||
| FILL-IN-COPY-PASTE | Download {.txt File} | ||
![]() |
|||
| FILL-IN-COPY-PASTE This was shown to the world like billion times already. But not this version, of course! It is written in EDASS-128 for the Commodore C128, but it can be used also for the C64 and Plus/4 {and actually it's usable with VIC-20 too if you sweat a few milliseconds longer! and keep in mind that VIC-20 screen is not having 1000 bytes, it's less!} I am covering here only the three first mentioned platforms! All Assembler/Editors you need to cover this lesson are available here for download. It's explained as good as possible! However, i did not comment the code itself. You slowly should understand it with having me to hold your hands all the time. Otherwise, go and play retro games, hehe... Rest of the "instructions" can be found in the .txt file you can download here. |
|||
| These pages are NOT USING any kind of cookies or whatever tracking, monitoring, controlling etc. tools. |
| It's pure and old-fashion webseite like back in the retro days {let's ignore some scripting here & there for a little while!} |
| Complete content was created by using retro systems emulator for all here mentioned computers. |
| No real hardware was involved so far {and if it will be one day, it will be additionally mentioned within the subject} |
| NOTE: Use all here at your own risk! I am taking no responsibilities in case of any data loses or damages! |
| In case you doubt your abilities to properly use applications available on MZRETRO.CH, please consider to not use them @ all! |